Being on a gluten free diet my
challenge whenever we are away is to find bread that I can eat.
Gluten free bread is not only difficult to find (I would say
impossible 99% of the time) but also expensive ($6.00/loaf and
upwards) when we are travelling. As we tend to take most of our
provisions with us and only call into smaller towns basically for
bread I find sticking to a gluten free diet very difficult. So my
challenge to make my own gluten free bread was on.
Most of the recipes that I had previously used involved lots of
ingredients. One recipe had over a dozen ingredients in it and it
wasn’t very tasty for all of the effort involved. I stumbled
across a brand of pre-mixed gluten free flour when checking out
the new local Coles Supermarket.
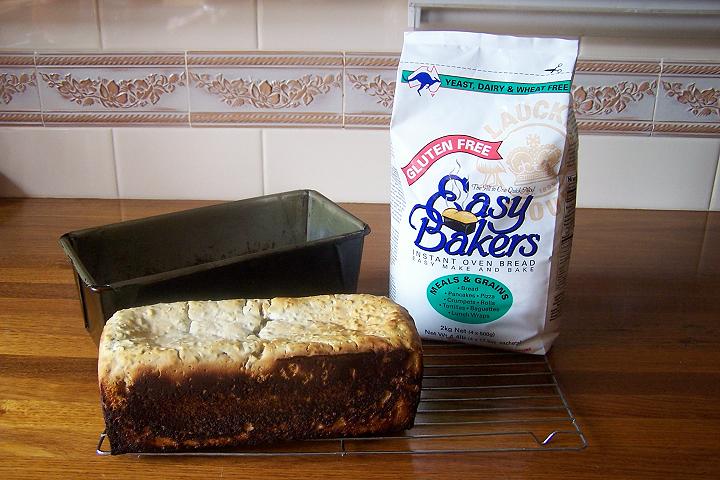
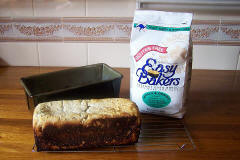
It was Lauke Easy Bakers Instant Oven Bread. Gluten, yeast and
wheat free bread mix, which comes in a pack consisting of four
separate packs, already measured out for one loaf. Easy for on the
road – no measuring. Add the correct amount of water and mix for
five minutes. This is a thick runny mix that needs to go into a
tin to rise and cook, so my next problem was how to cook it?
We didn’t want to have to rely on having to have a fire everytime
we wanted to cook bread. We only have a medium sized camp oven. I
could not find a tin that was either heavy enough and the correct
size to go in the camp oven over either gas or fire without the
bread being burnt.
The
Camp Oven Mate looked good but we still had to buy a new camp
oven and as there is now only to two of us away on holidays we
couldn’t see the point of taking two heavy camp ovens away with
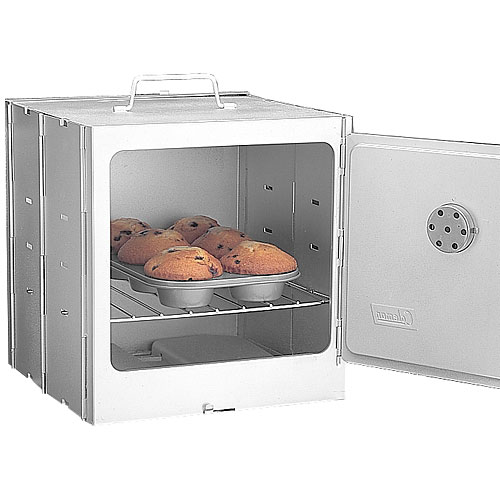
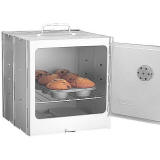
us. The
Coleman Camp Oven looked the easiest, it is light, folds up
and it could be used for cooking other oven type foods, but how
did we heat it up?
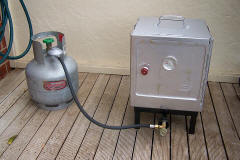
The Coleman Oven was too big to sit on our gas stove, which is
built into our pullout kitchen in the camper. We had an old high
pressure stove which still did not take the oven very well and
took forever to heat up. We then attached a high-pressure single
burner gas ring to the top of the gas bottle (this is our portable
BBQ with a cast iron plate on top). This heated the oven well but
was too difficult to control the heat precisely with the control
on the gas bottle. It cooked the bread, but it was slightly
overcooked. The bread needs fairly accurate temperatures for
cooking. If it is too hot it sinks and cracks!
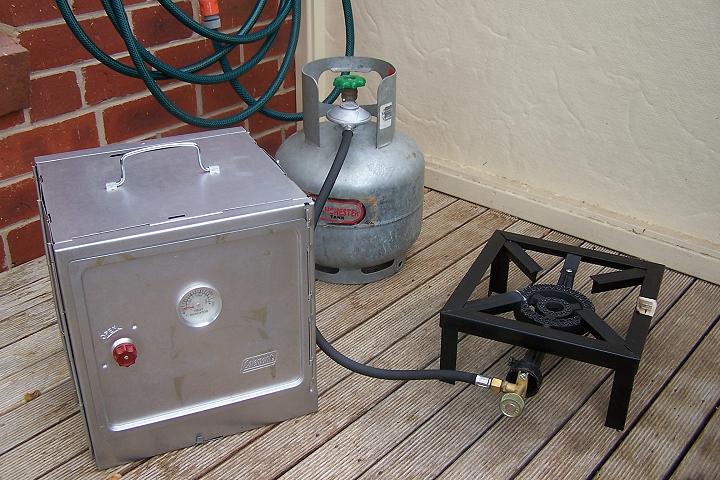
On a further trip to the camping store our very nice salesman lent
us a “Country Cooker”, a cast iron, triple gas ring which attaches
to the gas bottle via a low pressure hose. This is a low pressure
gas ring and heated the oven up very quickly, was easy to control
the temperature with the knob and was very stable, safe and did
not heat up the ground area too much underneath. This managed to
cook the bread very well although slightly overdone again. The
temperature gauge of the Coleman Oven is only an approximate
temperature so with a little more practice hopefully I will be
able to produce a perfect loaf of bread. I will be able to go back
to having a simple sandwich again when on the road and at only
$2.50/loaf it is certainly a much cheaper option.
The only job left for us to do is a windshield for around the gas
ring for those frequent windy days. A light, fold up windshield is
on the drawing board at this stage!
|

the
necessities
putting it
together
the result
Coleman oven
|