|
Custom
Kitchen for the 3 Dogs Rover
I had decided early on that
the cost of a kitchen for this trailer was just way too much for what you got,
and knew at some point I would get around to actually making one myself. Well,
that time has come as we have a 2 week trip coming up soon and a few more
creature comforts will not hurt.
The cost is not great, but a
few tools are required. I hope to have it fully assembled this weekend ready to
seal and mount etc. Hey, it may not be pretty but, this is how the whole thing
came together.
Before doing too much, I had
to measure how much room I had on the back tailgate, plus after making the
backplate, drill the 5 mounting holes through the backplate and tailgate itself.
I also had to make 4 holes for the large rivets poking through the tailgate.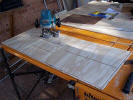
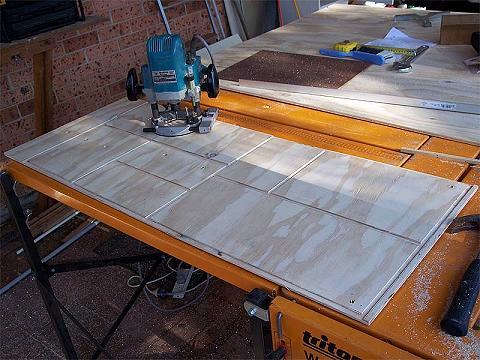
Some weeks ago, I had drawn up
a rough set of plans after doing lots of measuring of lots of different things.
I then drew this plan onto the backplate and then routed out the groves to set
all the main support pieces - walls, base, lids and dividers etc.

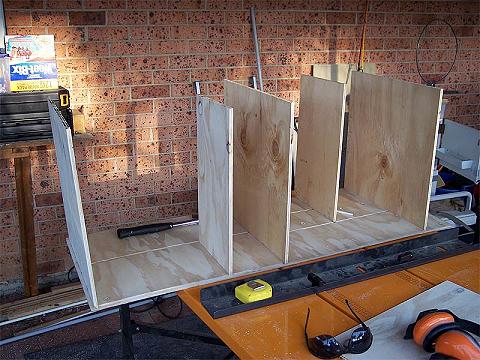
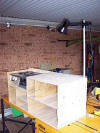
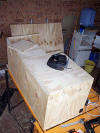
Once routed, I started to manufacture the pieces,
here you can see that they are just sitting in place in the previously routed
groves. Once all pieces have been made, they will be glued and screwed into
place, making a pretty solid box. Most of these upright pieces need to be routed
still for the horizontal pieces to fit in.
Well, after the bit of rain we
had in the last 2 days, the ply had swollen a little and warped a bit as well,
does not make life easy. Today was glue and screw day. Well, I had to do a bunch
of routing and still make a single shelf I did not last weekend. I sanded each
edge that was going into a slot so that it slid in easily but was still a nice
tight fit. Here it is, on the bench, half glued and screwed, and, so far,
everything is slotting together nicely.
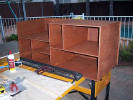
Well, the basic box is now all
together, even though I know I should wait for the glue to dry properly, I just
had to mount it, I just had to checkout if I had measured everything right.
Happy to say, I had, no need to break out the sledge to widen the back of the
trailer.
After seeing where the backplate is warping and
stressing when mounted, I will be adding an extra bolt or two across the top to
stop that. It swings, it fits into the camper perfectly. Apart from a little
warping here and there, I am pretty happy so far. I will be adding a small skid
on the bottom of the LHS to help support the weight when in the camper itself.
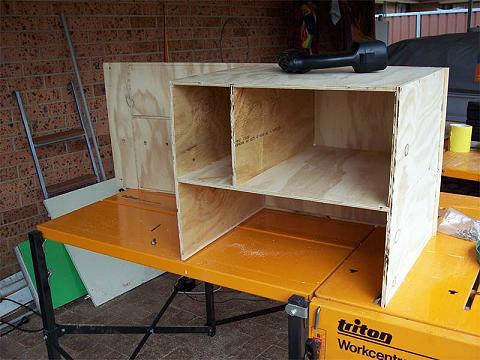
OK, back on the bench to allow the glue to dry
properly, I made the hole for the light stand to fit into as shown above. Stage
3 will be creating the various drawers and fronts etc. So far I have used 1 and
a quarter sheets of 2400x1200x9mm ply. All up the cost is about $50 Add in some
screws and some external quality PVA glue and there is another $10.
So, for $60 so far, I'm pretty
darn happy with it.
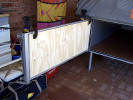
I decided to do the front a
slightly different way, I glued and nailed a solid full sheet to the front,
effectively enclosing the whole thing. I let this dry and set for 24 hours
before attacking it with a jigsaw.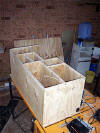
Once it was set, I started
cutting the "doors" back out of the solid piece I had glued on yesterday. This
went a bit average as you really are guessing exactly where the dividers are
underneath, even though I had measured and drew everything on the sheet as a
guide. The reason for this was I had matching grain on the doors across the
whole front and a close fit in each hole.
Once all cut out, I stained it
a Jarrah colour, then I applied 4 clear coats to finish it off and give it a
seal to keep water at bay. Above is after the staining and no clear coats
applied. Cost is now starting to creep up, a small tin of stain and clear coat
is around $65 just for those! The cost went even higher in step 4.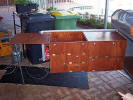
The End Result at LAST! It
took me quite a while to do the clear coating, but it came out pretty nice. It
took me a while to get the right sized brass hinges and even longer to get some
nice brass knobs that cost less than the total cost of the entire camper. Stove
still to be mounted, fire extinguisher mounted. LHS flap closes to enclose the
stove.
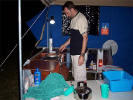
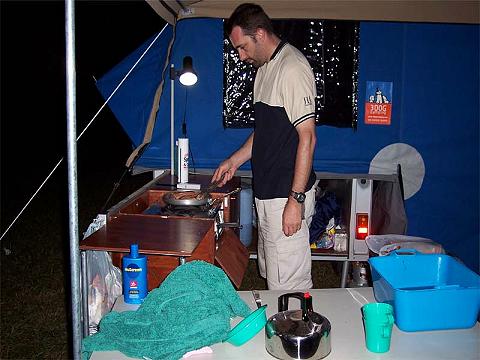
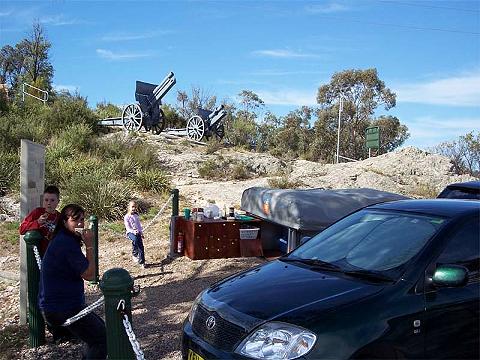
Guess the proof is in the
using. I got to break it in at the Burralow Swamp weekend, the 12 volt light
makes life so much easier and so does this kitchen. Total cost, hmmm, it did
creep up a bit I must say, but it still cost me less than say $250 to make.
There are a couple of minor things I still have to do.

On our South Coast trip in April, it performed
beautifully, pull up no matter where you are, whip it out, make lunch, loved it!
Would I make one for you? BWAHAHAHAH Sorry, making this was enough fun for a
while.
Thanks to Neil for this article on building his kitchen.
|