NOSE CONE # PART 2- OUT WITH THE ANGLE
GRINDER
So after many
bourbons I decide to take ten steps backward on my project and grab the
angle grinder and cut up the nose cone frame that I had spent some much
time creating. I did this as I felt the gull wing doors were just to
much of a problem and were proving to be beyond my skills.
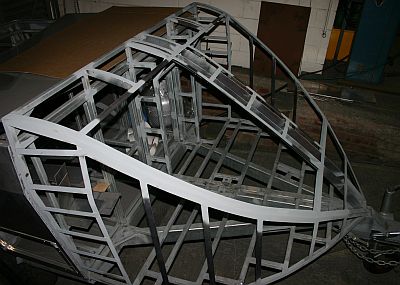
What I decided to do was create a nose cone frame with the same shape as
before but have a two hatch design that opened like a boot on either
side of a fixed central member when viewed from the front.
The upside of this design is that I feel I can shove a lot more in a boot
style design than if I had gull wing doors. The downside of the design
would be getting stuff from the bottom and lifting heavy items into the
nose cone. Another bonus when changing the frame was that I would have
dropped some weight off the total package and would have less to go
wrong.
But like all designs everything is a compromise and I felt that I would
be far better off with this hatch arrangement and be confident of being
able to seal the hatch lips.

Pic. 1: Here you see the
frame described above with the two hatch openings.

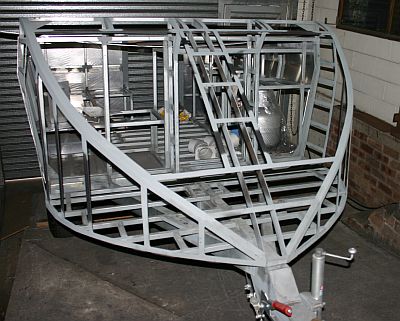
Pic. 2: Front view
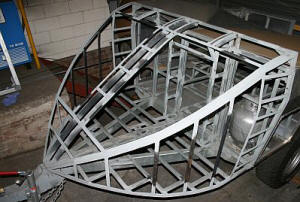
Pic. 3: Side View