|
Avan
electricial add-ons
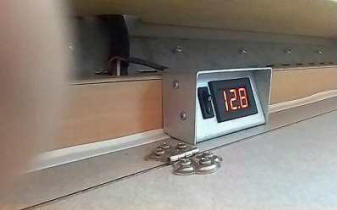
To keep an eye on the battery I mounted a digital
voltmeter along with a switch mounted in a brushed aluminium
enclosure I made in my workshop. The enclosure was then mounted via
a couple of small self tappers on top of the front shelf just behind
the middle storage bin. In this position it can be seen from
virtually anywhere within the camper. The wiring is plumbed into the
cables feeding the front light. These digital voltmeters are
available from most caravan accessory places for around $30; or,
like me you can source one from China on ebay for around $5.
 |
 |
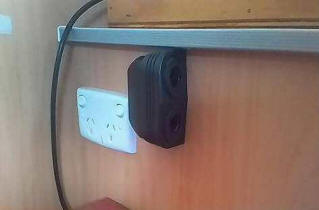
The single 12volt socket mounted in the
cupboard at the foot of the bed was inadequate for our usage as
most electrical items we have are 12volt and of course the plug
tends to disconnect on occasions when lifting the bed. To solve
the problem I mounted a twin surface mount socket over the
original socket cutout and oriented it east/west so accidental
disconnects are no longer a problem. These sockets are also
available on ebay in a plethora of configurations from quad
sockets to twins with twin USB sockets and even one with a built
in digital voltmeter.
|
 |
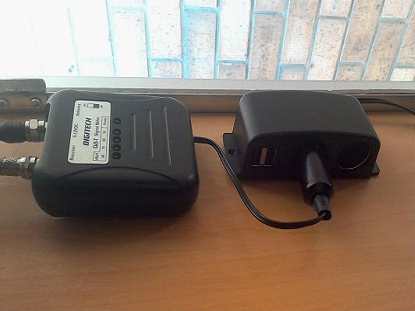
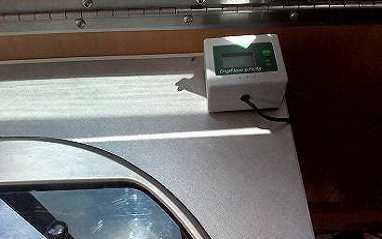
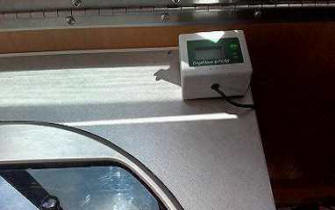
I invested in a TV signal finder and mounted
it in front of the three drawer cupboard just inside the door
with Velcro so I can see it when adjusting the antenna. That
saves me running inside all the time to check the LEDs or having
to disconnect it once the antenna is adjusted if used outside..
This one works on a nine volt battery which goes flat pretty
quick if I forget to turn it off (every time so far). To solve
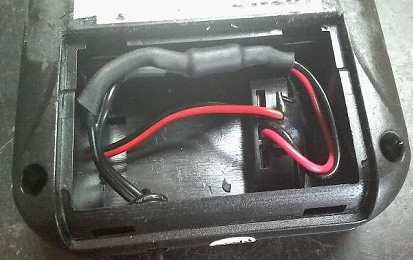
the problem I bought a 9 volt battery clip with flying leads
from Jaycar, clipped it to the signal finder’s battery clip and
soldered a 150 ohm resistor to the end of the positive lead.
Rather than hardwire the unit I soldered a 12 volt plug to the
end of the exiting leads and mounted a dual lighter/USB socket
just underneath the signal finder to plug it in to. Using the
USB sockets I can also charge mobiles and tablets from there as
well. When attaching the battery clip to the signal finders clip
the exiting wires will be reversed so negative – red and
positive = black, just something to remember if you wonder why
it ain’t working.
 |
 |
Running out of water in the middle of nowhere
isn’t much fun so I invested in a water flow meter. Easy to use
just fill the tank and zero the meter. The meter reads off the
litres flowing through the tap/pipes, very accurately I might
add, so you know when you are getting near the bottom of the
tank. Available on ebay for around $70-$80, or from Futurlec for
$35, which is where I sourced mine.
|
 |
|
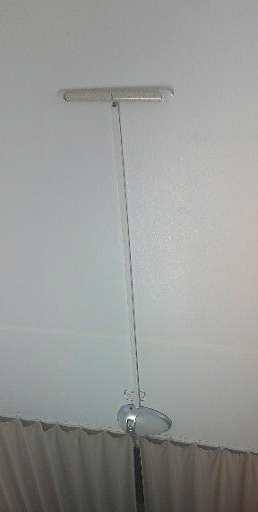
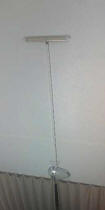
The inside lighting is abysmal and
the standard incandescent bulbs tend to eat up the amps.
You can replace both the bayonet and festoon bulbs with
LED substitutes but it’s pretty much a waste of time due
to the relatively low height of the lights. Instead I
installed an LED bar light on the rear roof section
about 600mm from the apex. The cables were run through a
square plastic conduit down to a miniature switch I
mounted in the standard light fitting. The standard
lights aren’t used anymore as the overhead LED provides
more than enough illumination anywhere inside the
camper.. The roof angle, white backing and height of the
light mean only a small unit is required and the power
consumption is next to nothing. |
 |
Manufacturers don’t appear to understand the
vagaries of voltage drop over lengthy cable runs and as a
consequence tend to run puny wires from the fridge to the seven
pin plug. I tore the original wire out, replaced it with 50 amp
figure eight from Repco, connected it to an Anderson plug at the
front and the other end to a Fridge Switch mounted behind the
fridge which in turn is connected to the fridge. Obviously an
Anderson socket is required on the vehicle also. Fridge Switches
are also available on ebay for around $65 and are worth their
weight in cold, if you’ll excuse the pun! The Fridge Switch
senses movement so when the vehicle is in motion the Fridge
Switch activates. Stationary and the Fridge Switch deactivates.
Saves on flat batteries and also saves having to wire up to the
vehicles accessories loom.
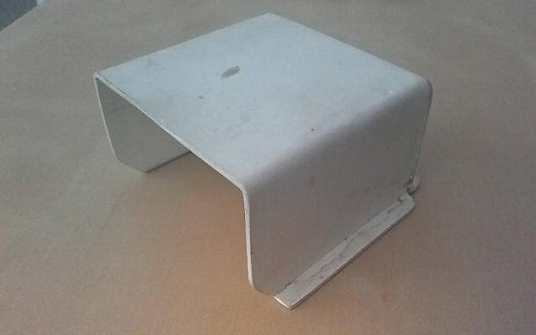
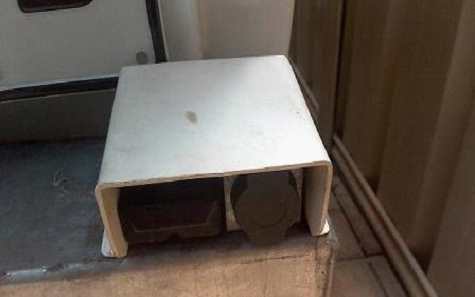
On the rear bumper I mounted a Merit socket for
the solar panel and an Anderson socket for the genny. There is also
a Merit socket mounted at front so regardless of camper orientation
to the sun I can place the solar panel in the best position for best
effect. PVC drain pipe can be heated with a heat gun and fashioned
into pretty well any shape you like. Just cut and flatten the PVC
sheet, sketch the shape, cut, heat and bend. Corners can be sealed
with silicon to weatherproof.
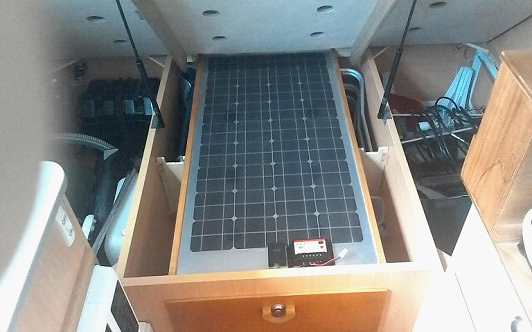
The solar panel is a semi flexible unit I
bought on ebay; however, three corners were damaged in the post
making it unsuitable for a roof mount so I straightened the
panel as best I could and mounted it to a piece of 9mm lacquered
marine ply. It weighs considerably less than a fold up panel and
is stored on a couple of brackets I installed under the bed over
top of the pull out drawer.

thanks to Tony Hothersall
for sharing his ideas
january 2016
|