Camper Trailers Tech Tips

Dave & Kerrie's Kitchen


Dave & Kerrie's Kitchen

This is how David & Kerrie went about designing their own functional kitchen.


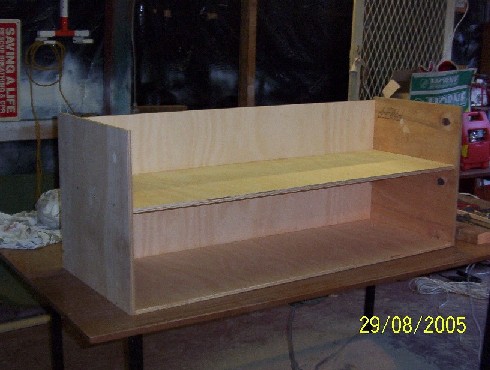
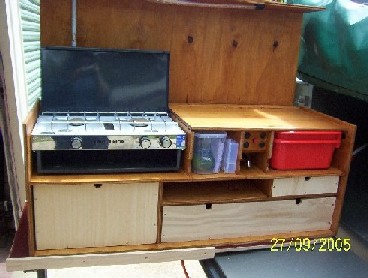
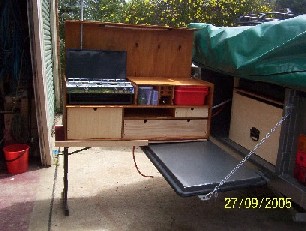
     When we designed our kitchen, we wanted to make it functional but also it had to fit all our existing equipment.  Thus we measured everything we wanted to be able to put in it and then set about building the drawers to 
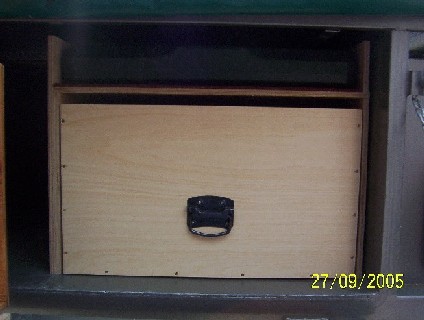
suit.  The top right hand drawer has a cutlery tray in it to hold the cutlery, the drawer in the middle holds tea towels/table cloth & pot holder etc, the long drawer at the bottom holds the pots and pans, and the larger utensils such as tongs, the square drawer on the left holds all our plates, cups, glasses & kettle.

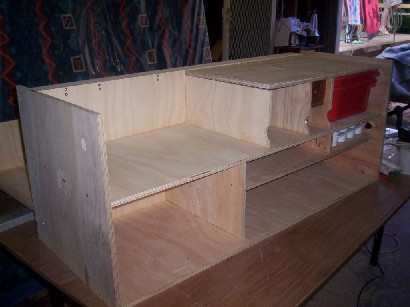
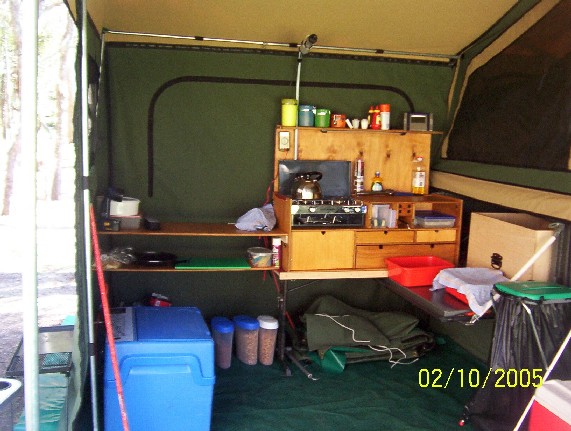
     The reason for the four light switches on the panel above the tap is to control the led light on the kitchen, a versalite above the kitchen for better lighting during cooking, another versalite equivalent above the table for eating plus one main switch for the lighting in the main tent area (these lights also have there own individual on/off switches), the red button in the centre of the panel is the on switch for the electric water pump.

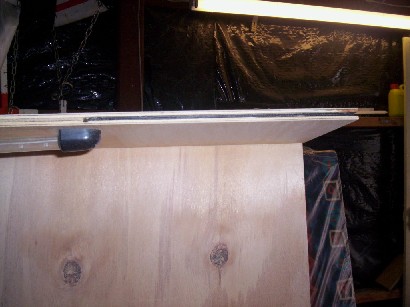
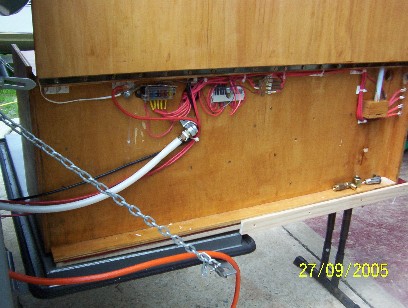
     We leave all the electrical wiring, water and gas cables connected at all times thus the reason we made the recessed section at the rear of the kitchen, the cables can all neatly slide into the trailer with the kitchen.

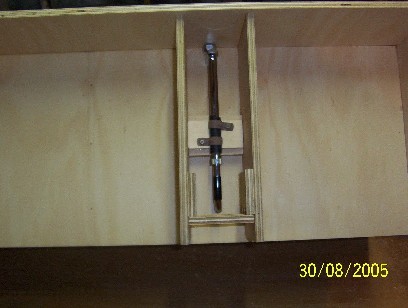
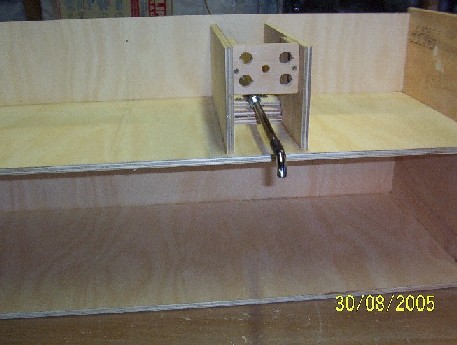
     The pole that holds the lid of the kitchen open also acts as the holder for the versalite.

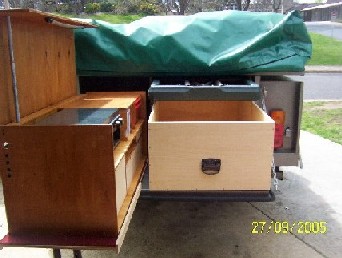
     We made a table with a single fold down leg, the opposite is supported by the tail gate, we are then able to pull out the kitchen, and we then attach the shelves to the side of the kitchen for additional space.

     Materials used 

  • 12mm construction ply  

  • 45mm timber screws 

  • wood glue (lots of)


thanks to Dave & Kerrie


     We started with a basic box shape, (1150 x 450 x 450)


    We recessed the rear of the kitchen to allow for the wires, pipes & fittings etc.


      We then started to add dividers to section off the areas, in this picture we have fitted an extendable tap which can be pushed in when packed up or pulled out for use. Above the tap we mounted a panel for the light switches and water pump.


   We fitted the remainder of the dividers and shelves. We used a piano hinge to fit the lid, which when opened also gave us somewhere for the light to be mounted, we used a 21 led flexible light (purchased from Jaycar), plus the top of the lid when open also acts as a shelf.


     This picture shows how we have recessed the cable for the light into the edge of the ply.


   This picture shows the kitchen with the lid closed.

   This picture shows a second piece of ply fitted to the bottom section with a hole to enable you to pull it out and use it as a shelf which is attached to the left hand side.


          These pictures show the kitchen nearing completion.

    The above end of the kitchen shows a row of outlet plugs (DC connectors from Dick Smith) which we use to connect our lighting system to for power plus a cigarette lighter outlet in case we want to use a pump etc.


    These pictures show our pantry box which slides into the rear of the trailer beside the kitchen and mounted above the pantry box is our table and chair set.  This setup allows us to stop for a quick lunch, use the kitchen and also be able to utilise the table and chairs for a bit of comfort.


    This picture shows the kitchen set up with its leg down for support.


  This picture shows the kitchen complete and in use.


   This picture shows the wiring and cables which provides the power/ water & gas to the unit.