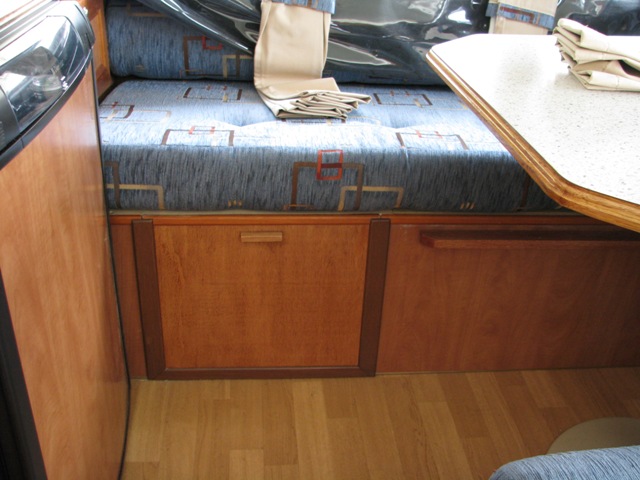
We decided to buy
ourselves a Porta Potti, but then had to find somewhere to store
it whilst travelling or not being used. There is not much spare
space in the Crown, but after considering various options, we
decided to build, if possible, a storage compartment under the
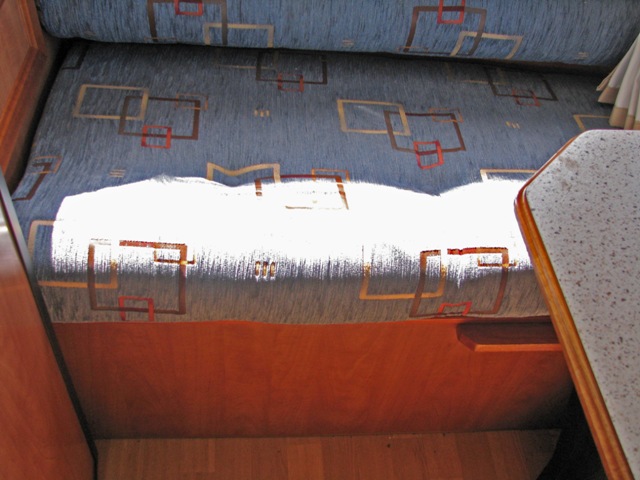
bench seat at the rear. This area was already in use for storage
with a lift-up lid to gain access, but was far too small to
accommodate the Porta Potti, although there did appear to be
adequate space if the rear wall was removed.

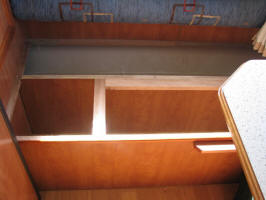
The top ply coverings over
the compartment were first removed so that I could measure the
available space to see if the PP would fit. Careful measurement
showed that there would be sufficient depth, but the height was
going to be a problem (width was not an issue). Additionally,
part of the mechanism for the wind-up roof and electric cabling
were behind the rear wall. There would have to be a false floor
in order to provide clearance for the winder tubes and cable,
but this meant that the PP would not fit under the bench seat –
it would have to be raised.
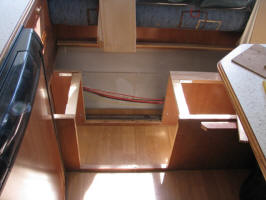

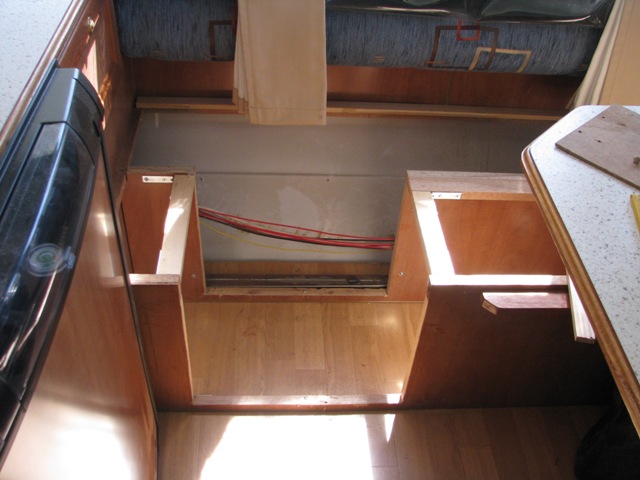
The front and rear
walls and supporting timbering were carefully removed and new
cross pieces fitted. The wiring is visible in the photo, and
below it, the two dark tubes of the winder can be seen
immediately behind the rear wall. The light coloured panel at
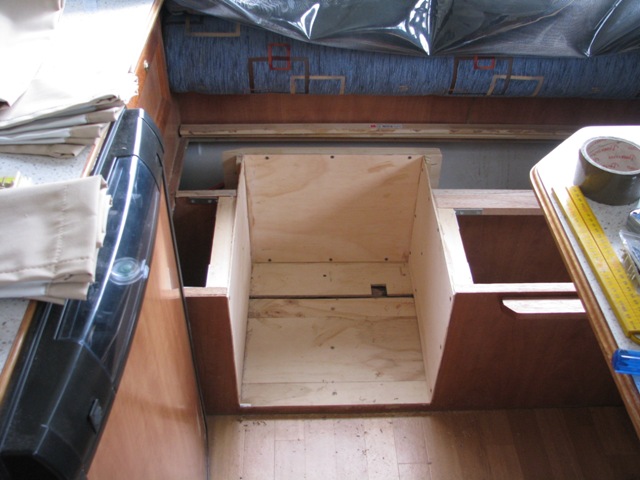
the back is the actual outer skin of the Crown. The new space
was boxed in with ply and lined with some scrap marine carpet I
had. The new floor is in two pieces to allow clearance for the
winder cable.
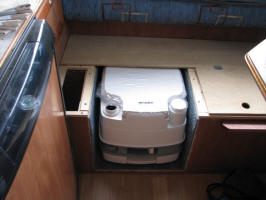
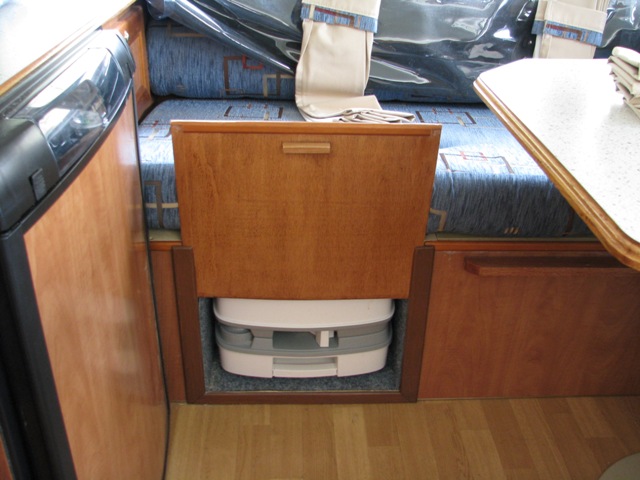
The PP being trial fitted
with part of the lid back in place. To provide the height
clearance, lengths of timber were fitted on top of the existing
frame, thus raising the bench seat by the extra centimetre
required.


Finally trim was fastened
around the opening and a sliding door added.
Thanks to Richard Graylin for sharing this
tech tip