|
our diy camper trailer
Graham & Yvonne
in New Zealand

In early 2007 I was looking into possibly buying a pop top
camper or small caravan. After perusing the papers and on line
auction sites I decided that either these campers were made using
precious metals or their owners were particularly optimistic. That’s
when I happened on the campertrailer.org site and I was hooked.
As a
maintenance engineer by trade building a trailer was a walk in the
park. We already had a couple of tents from our camping days when
the kids were young. So after looking at all the photos on the site
I dragged the tents out into the backyard and started measuring up.
The smaller of the two looked ideal to start with, but the width and
where the door was fitted meant a lot of alterations to the canvas.
The larger one, a Great Outdoors ‘Nevada’ tent, got the nod and so
with trusty tape measure in hand I went to the steel pile and
started to drag out every piece of 50 x 50 Duragal I could find.
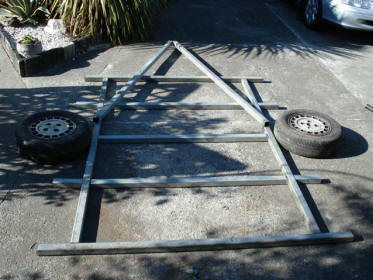
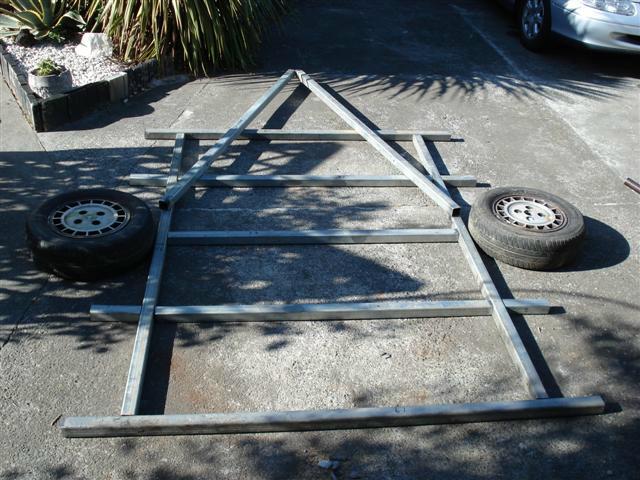
constructing the chassis |
Fortunately I had a set of alloy wheels off a demolition derby car
and a good set of tyres. So down to the local auto parts store for a
set of stub axles, hubs and springs (rated 1500kgs) and a visit to
the local auto wreckers for a couple of wind up jacks for
stabilisers. An old portable drill with a hook attachment makes
short work of lowering and lifting these. So within a couple of
weeks I had the basic trailer built and painted. I then built the
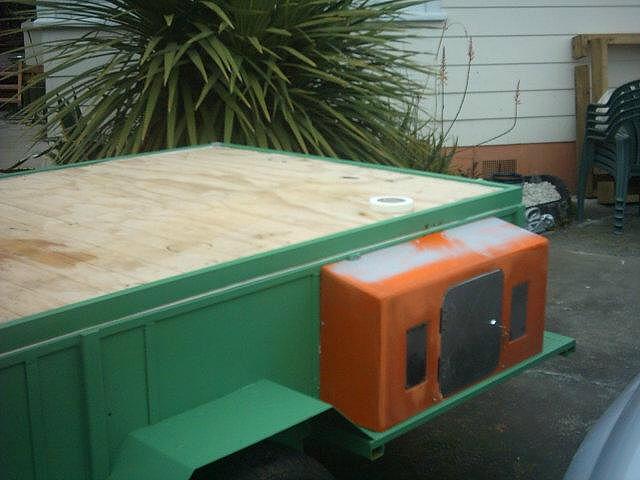
bed base, lined it with ply and added a battery box (big mistake).
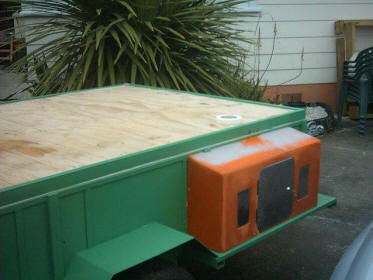
that battery box |
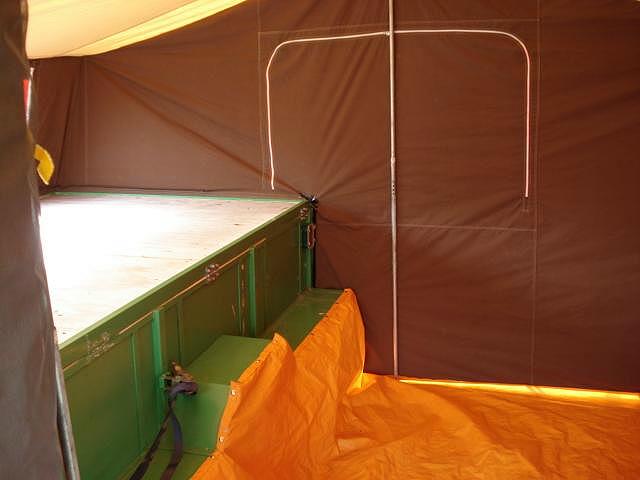
At
this point I was very much dependant on an older brother who runs an
auto trim business. But with a bit of cajoling we finally got the
canvas altered to suit the trailer. The canvas is fitted using
aluminium awning channel around the bed base frame and held up using
the original aluminium frame poles. After some experimentation and
some minor mods we got it all working sweetly.

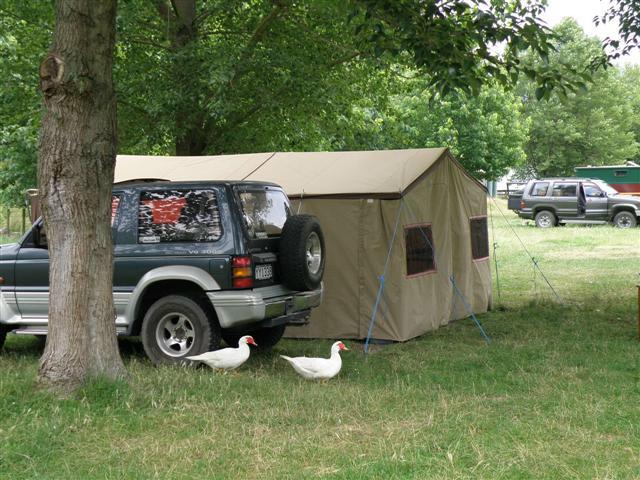
fitting the canvas
|
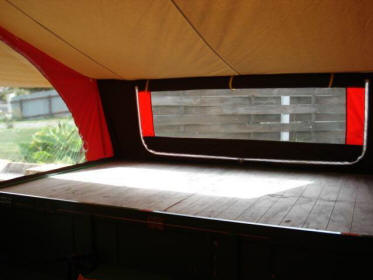
bed base |
A length
of 150mm PVC pipe was added to the draw bar for the poles. At this
point I started on the kitchen. I built the first one using ply and
spent some quite long nights out in the shed during the winter
designing and constructing. Unfortunately it all proved to be a
waste of time as it ended up being too heavy and awkward to pull in
and out of the trailer. Back to the drawing board! That’s when the
lovely Yvonne stepped in and suggested we use the collapsible unit
we used for camping. It consists of a light metal frame that bolts
together using thumb screws and has a ply wood top and shelf. It
takes about three minutes to put together and has room for cooker,
pots and pans, cutlery drawers and wash up bits and pieces. A gas
bottle frame was installed on the draw bar along with a small
lockable tool box.
Right,
now for the 12volt system and that battery box. Again referring to
the campertrailers.org web site the lighting system was a breeze.
It's just that when I first installed the battery box I had measured
up a battery that looked like it was big enough but with some
further research I decided on a bigger one (in all sense of the
word.) So off came the box for some major mods to allow the new
battery to fit.
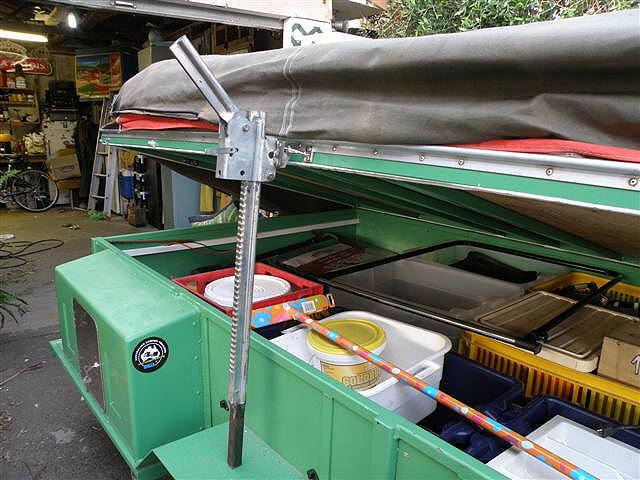
After
struggling to open the top a few times to access the inside of the
trailer I added my patented Holden jack lifting system.

Holden jack bed base lift |
From
there it was a short hop to getting a mattress, inner sprung of
course, searching the shed for all our old camping equipment,
cleaning said camping equipment of 20 years of neglect and finding
enough plastic storage boxes down at K Mart to put it all in. The
last major job was building and installing the folding step.
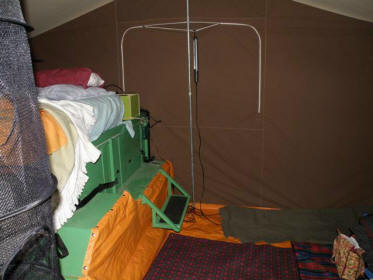
cosy & warm |
So at last in early Jan 2009
we set off on our maiden voyage and it was a success. Every trip we
have done since has seen us make minor alterations but nothing to
make you loose sleep over. We are rapt. Thanks to all on the
Australian CamperTrailers Group, specially you Rob.

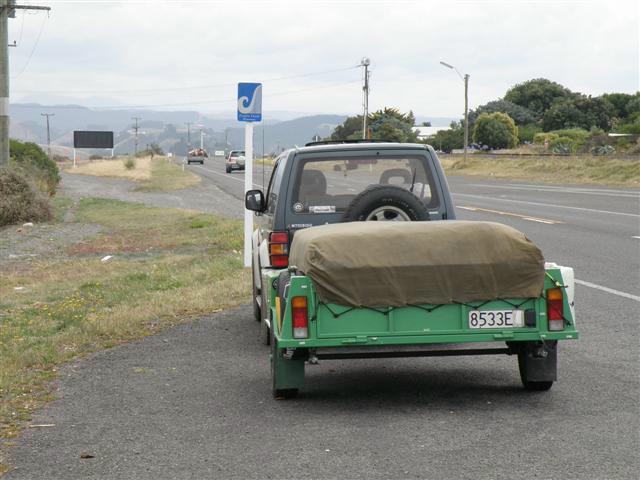
on the road
|

in camp |
thanks to Graham for
showing us around his camper
may 2009
|