|
paul & nicky’s
1983
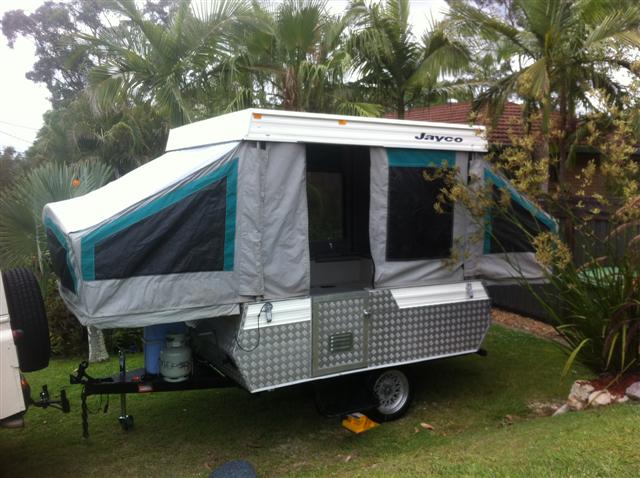
jayco finch rebuild

For the last few years
my wife & I have been camping around the South East Queensland area in our Koala
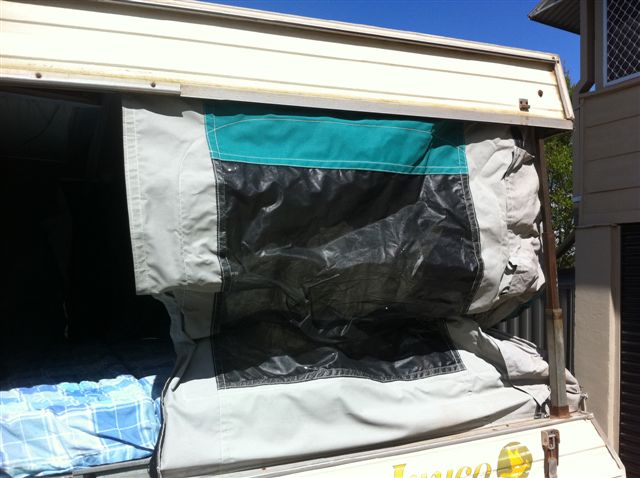
Camper Trailer, a trailer in very nice condition and set up for “off road”
action. However we always found it a chore to set up and wasted valuable time
better spent with our feet up enjoying the camping life.
Recently Nicky & I
started to look at camper trailers with pop up roofs and pull out beds and we
set our hearts on a Jayco off road model, however as usual the price put us off.
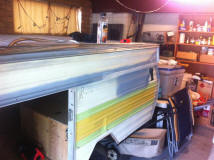
Anyway back in June we were offered the opportunity to swap our trusty Koala for
a 1983 Jayco Finch. We rocked up to the owner’s house to see a really old
unloved and tired old camper. Our first inclination was to walk away, however
the owner explained that the canvas was brand new, the bearings and suspension
had been upgraded and the chassis was in good order. I had been looking for a
hobby project for some time so we did the swap and filed the paper work with
Queensland Transport and took the old girl home.

As the project manager
my first job was to assess the overall condition and build a project plan and
budget for the renovation, as per my spread sheet. There was noting that could
be left untouched, we had a big job ahead of us.
One of the first major
task was rewiring the 12volt/240volt system, plus the gas system needed
overhauling. The reference tools I used were campertrailers.org technical pages,
Google and Ebay, all a good source of data and costs. Most of the items I needed
for the trailer were actually sourced from Ebay and saved ourselves a large
amount of time and money.
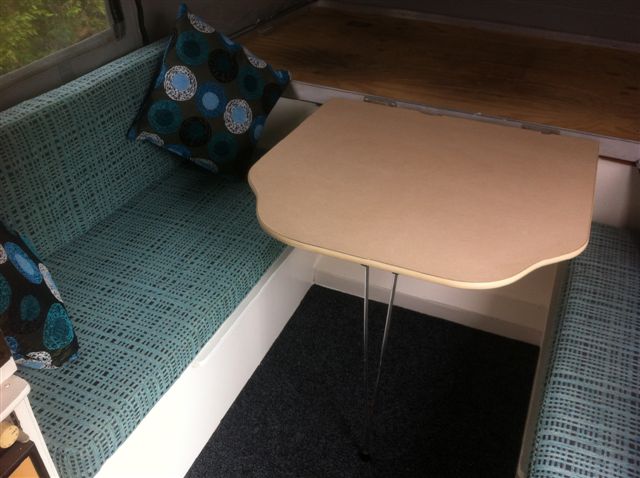
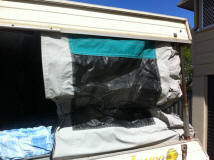
We decided to start on
the long lead items so the fridge was removed and sent for servicing, cushions
and curtains were sent off to be recovered and replaced. We then started on the
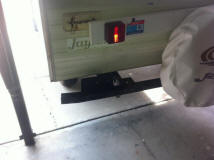
outside first. Our first goal was to make the trailer road safe. I had the draw
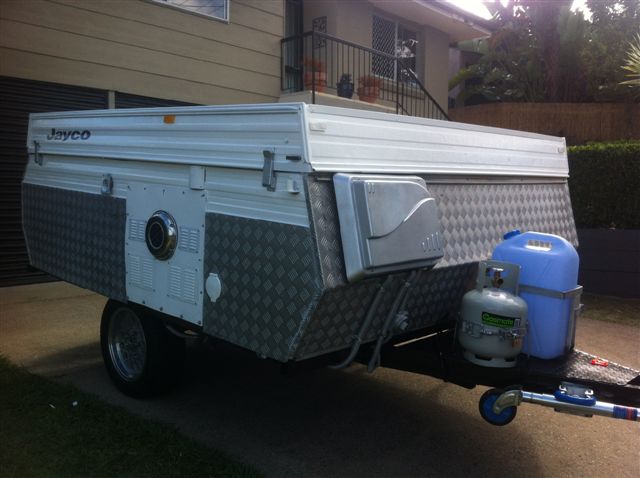
bar rebuilt, new jockey wheel, gas carriers, jerry can holder installed and the
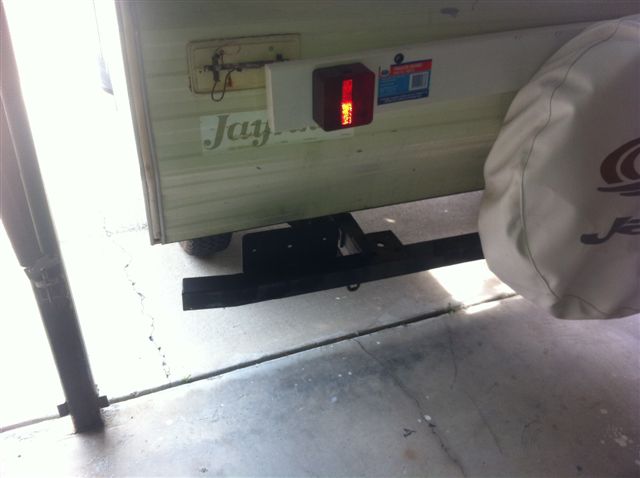
rear bumper repaired so I could mount LED lights.
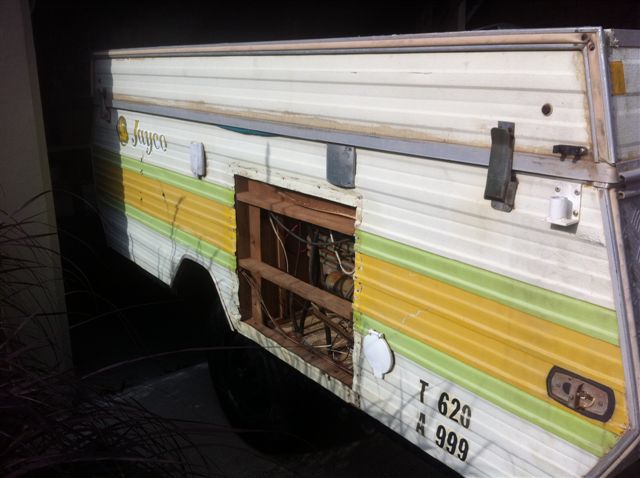
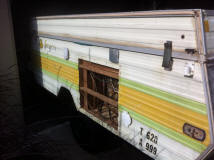
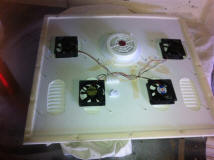
One of our big
concerns was the fridge, how were we to keep the temperature down? We decided to
rebuild the side vent panel and add a solar powered extractor, plus we also
added four computer fans (two expelling and two impelling) run off 12volt for
good measure. We have also added a sail track on the righthand side to take a
shade sail. Hopefully this will all work to keep the temperature down at the
back of the fridge.
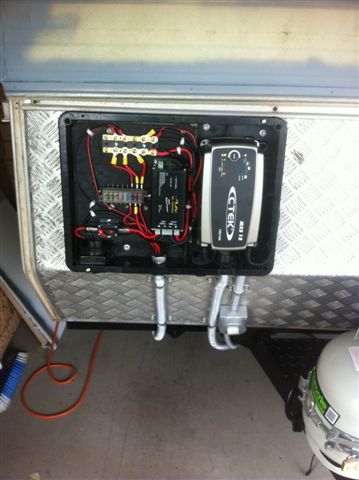
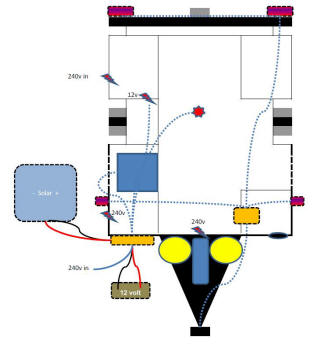
Next job was to design
and build the power system. I decided to go with a portable power pack to hold
our 120 amp hour battery; this will sit under our trailer whilst camping and in
the back of our Land rover whilst driving to power our separate fridge, the pack
has a built in solenoid and circuit breakers. This power pack can also be feed
by a solar panel.
From the mains we
added a battery charger to feed the battery through a cut off switch. From the
battery via heavy cable and Anderson plug we feed the 12volt reticulation,
firstly through a 60amp circuit breaker, then into a 60 amp battery protector to
a bus bar, then feed a six gang fuse panel. All incased in an approved water
proof casing. From the fuse panel we then feed the 3way fridge, 12volt sockets,
lights and the blowers on the fridge ventilation panel. All cables are heavy
gauge and housed in flexible conduit.
From the 240volt
supply we feed the fridge, battery charger, lights and LPG/carbon monoxide gas
detector, all through an RCD breaker. I bought a really good 4-way power board
with remote control on/off for each supply, “means we can turn the camper lights
on from 50metres away”.
Next tasks were to
start stripping and cleaning, all old hoses to be changed, flushed the water
tank, stripped old sealant and refitted trims, “got to get the old girl water
tight”. Replaced hand water pump with a 12volt pump and tap. Sprayed the chassis
with black “gunk”, etch prime all exposed metals and trim. Rubbed down the old
paint work and removed old decals. Swapped out all rusty screws and bolts for
new stainless steel replacements.

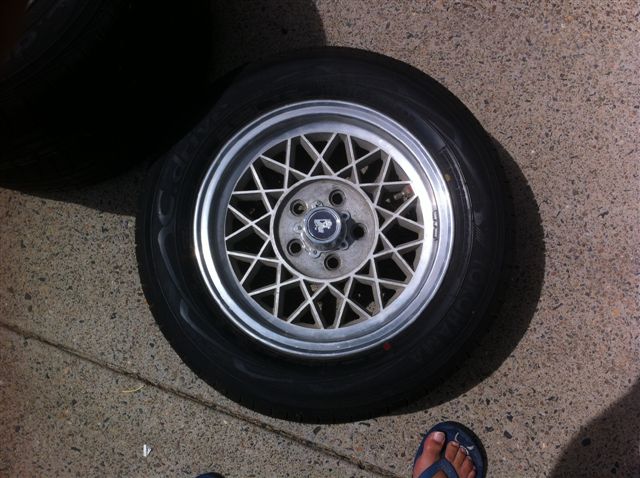
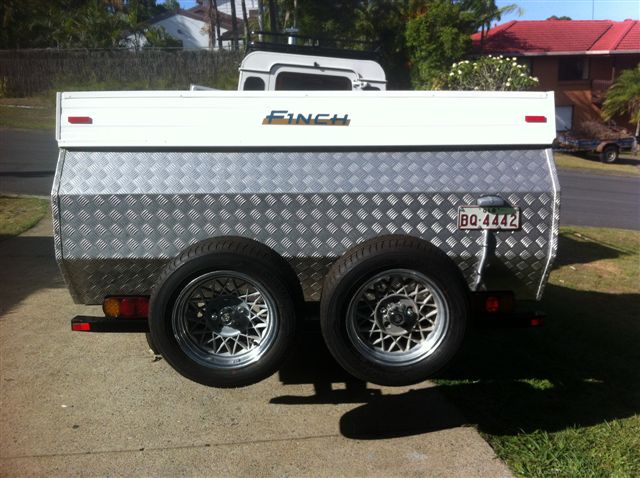
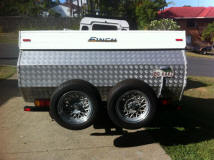
We then started
looking for wheels, we had a problem the hubs are 5 stud PCD 108, HT. Quiet rare
these days, so back to Ebay and after several weeks we got our hands on four HT
Alloys with brand new Yokohama tires a steal at $120.
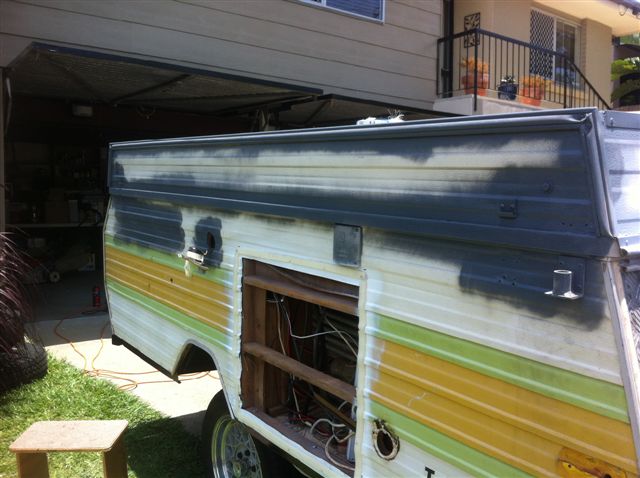
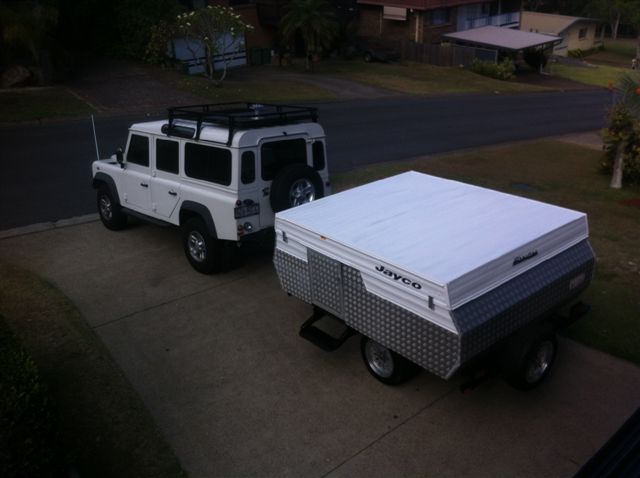
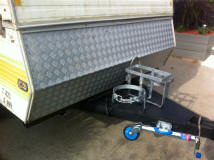
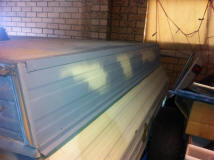
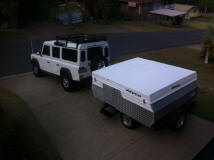
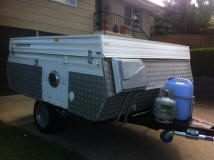
So with most of the
prep work down we were off to the spray shop for a coat of fresh white paint. We
decided to wrap most of the body in checker plate to strengthen the old frame
and give a modern “Off Road” feel; ok this will add weight, so in the future we
will be adding electric brakes. We added new decals, refitted reflectors,
mounted two spare wheels and the Hi-lift Jack.
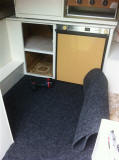
Now with the outside
complete we drew our attention to the inside and the homeward run. First task to
remove the folding sink unit, paint and add 12volt switches for lights and
blowers, a voltage meter and 12volt sockets.

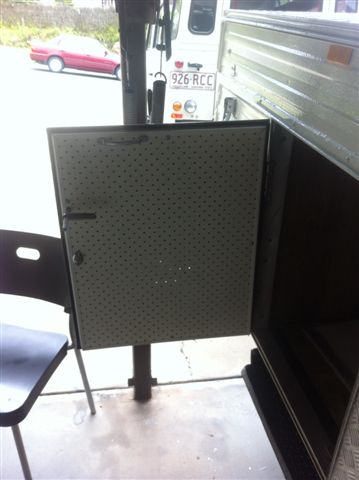
The door was in really
bad condition and as an ex Aircraft Fitter I decided to rebuild it.
We still have some
small tasks to complete and ultimately we will install electric brakes and maybe
shock absorbers, but no rush for now. We are taking the trailer to Airlie Beach
in January to trial it out and hopefully it will meet our expectations.
|
jobs
|
cost |
| seat covers
|
380 |
| 240 volt inlet |
50 |
| water inlet |
20 |
| fit 12 volt system
|
|
| spray paint |
300 |
| checker plate |
435 |
| gas test |
50 |
| gas bottles
|
150 |
| wheels/carriers |
200 |
| carpet |
100 |
| mattress |
400 |
| curtains |
50 |
| handle cover |
12 |
| refit side panel
|
|
| paint timber |
20 |
| paint chassis/bumper
|
20 |
| solar panel |
800 |
| battery pack |
600 |
| replace screws |
10 |
| replace bolts |
10 |
| trim/seal |
10 |
| wash |
5 |
| decal/Jayco/CH18/reflectors
|
100 |
| pump/tap |
25 |
| repair door |
200 |
| clean water tank
|
5 |
| bedding |
100 |
| legs |
|
| fridge |
200 |
| welding etc |
340 |
| computer fans |
15 |
| 12 volt system |
300 |
| road lights |
170 |
| solar fan |
70 |
| grills/seal |
50 |
| other |
300 |
| total
|
$5,497 |
| |
|
| install IPOD/IPAD adaptors |
|
| clean cuboards |
|
| install lift jack |
|
| install pole tube |
|
| paint extender poles |
|
| draw bar |
|
| brakes |
|
| axle |
|
| wheels |
|
layout
Thanks to
Paul & Nicky Booth for this article.
december 2011
|