|
servicing wheel
bearings
Servicing your own wheel bearings as part of your
trip preparation or part of a regular maintenance schedule is one
job you should feel confident in doing if you own a camper trailer.
This way you know the job has been done properly as well as checking
the state the bearings & other mechanical parts such as brake
shoes, brake magnet & springs.
How to breaking down your
trailers hub is knowledge that could be very handy on the side of
the track, not only for you, but perhaps in helping someone else
that is in trouble miles from anywhere. It is always a good idea to
carry a two spare wheel bearing sets along with rear seals on trips.
what
to look for
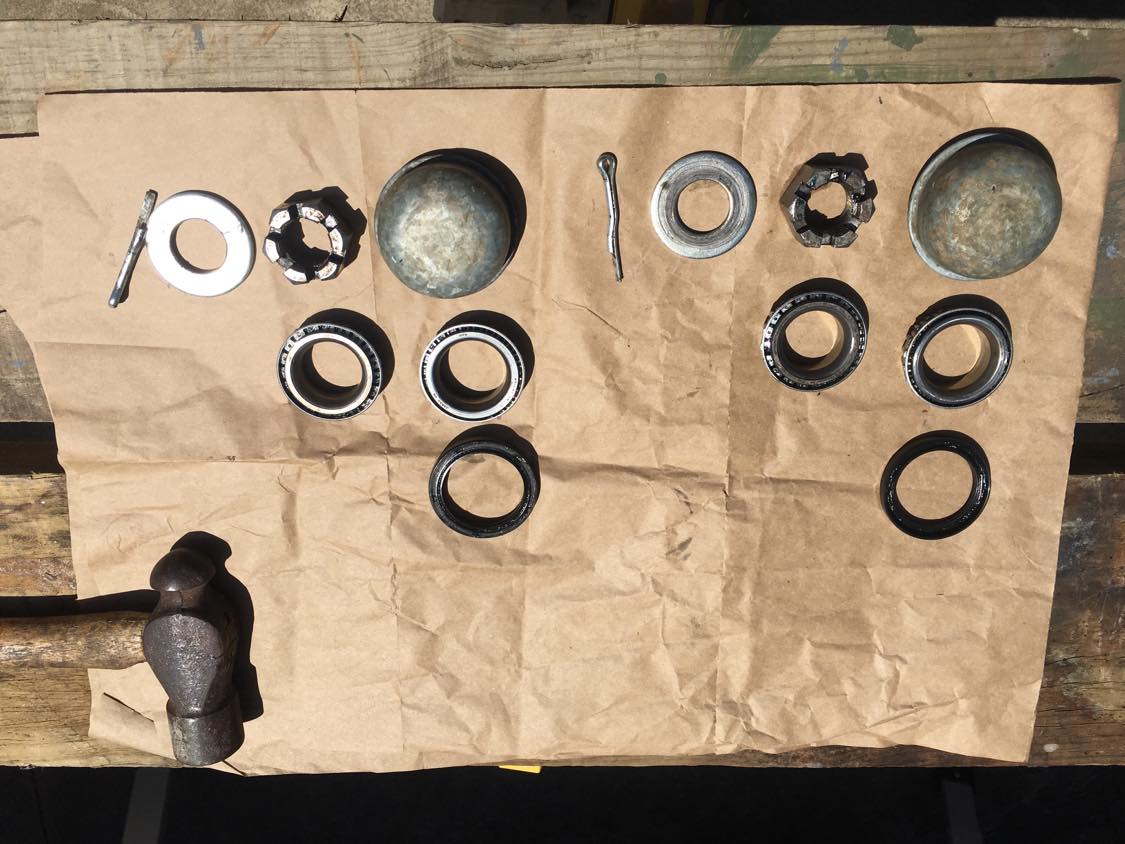
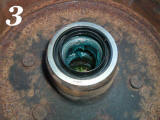
Bearings comprise of two parts, the cup which is
pressed into the hub and the cone which is the part that contains
the rollers of the bearing. The bearing on the inside of the hub
flange, the side closest to the centre of the trailer is called the
inner bearing, while the bearing on the outside is called the outer
bearing.
When inspecting the
cone look for signs of wear, pits, chips or discolouration to the
rollers which is usually a purple or blue colour. The cup should
also be inspected for wear, damage or scoring marks. If any damage
is found they should be replaced.
Bearings should always be replaced in a
set with cup and cone together.
We
should not forget
the bearing seal which is located at the rear of the hub and
stops water and dust entering the bearings. The seal is an important
part of the bearing assembly and one which should not be overlooked
when inspecting your bearings. Look for any damage like an oversize
inside diameter or cuts and abrasions.
Wheel bearings come in
different sizes depending on their use and are matched to the load
rating of the trailer. Three things that affect the strength of an
axle include the diameter of the steel, the design load of the
bearings and the design load of the
stub machining.
When travelling into the
remoter regions of our great outdoors it is always a good idea to
carry a full set of bearings and seals in your spares kit. It is
also worth knowing they are going to fit by trying the cones in
place, but not necessarily pressing the cups in. A better idea is to
replace your present bearings, hub, cone & seal with a new set,
keeping the original as spares. You then know they will definitely fit in an
emergency on the roadside. Nothing worse than getting out your spare
bearing set and find they don’t fit.
getting them
apart
The cone can be removed and
the new one re-seated in an emergency situation with a screwdriver,
however a copper dolly is the best tool for the job. This will not
damage the machined surface of the cone in case you slip. If you
have a machinist mate you could get him to turn down a short length
of pipe the same diameter as the cone to drive it home.
All bearings and seals have
a serial number stamped on them. Some camper trailers may have
mismatched components like Holden bearings and a Falcon seal
depending on the load rating of the axle and hub assembly. Make sure
you have the right parts in your spares box.
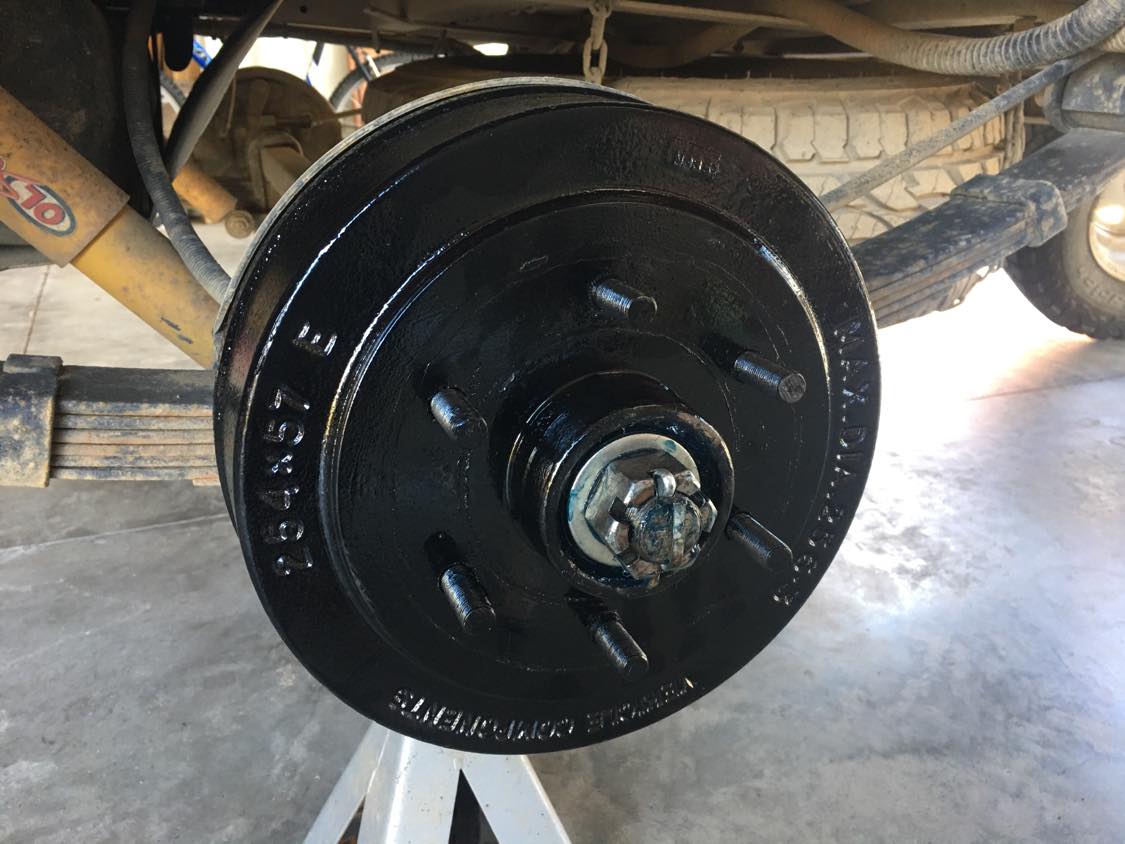
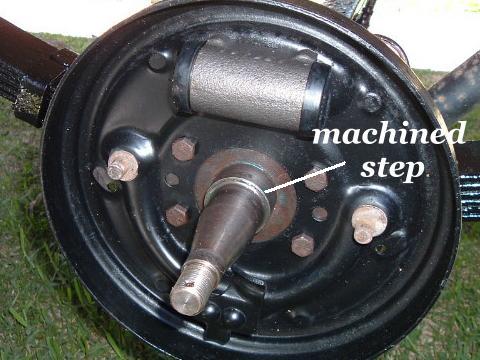
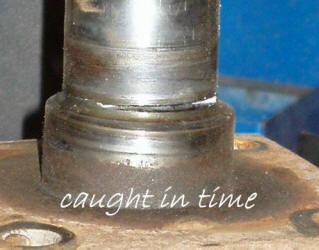
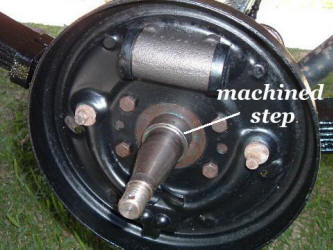
While you have everything apart it is worthwhile checking the stub
for cracks. The area in question is where a 'step' has been machined
on the stub to receive the wheel bearings. This is the most likely
place for a fracture to occur, however it is also important that you
check all machined steps on the stub.
The fracture usually starts on the bottom, so it is often not seen
until it is too late. Pay particular attention to all underneath
areas of machined 'steps'. Best way to feel if a crack is present in
a machined surface is by running your finger nail over the area or
with the aid of a small mirror.
Make sure the camper is
properly supported with suitable stands and
do not place any part of your body under the camper.
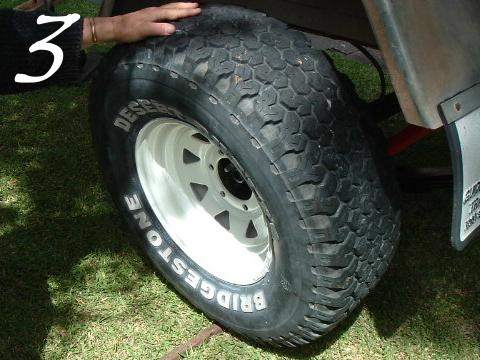
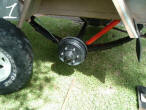
It is a good idea to
place the wheel you have taken off under the axle.
learning to do
it
 |
 |
 |
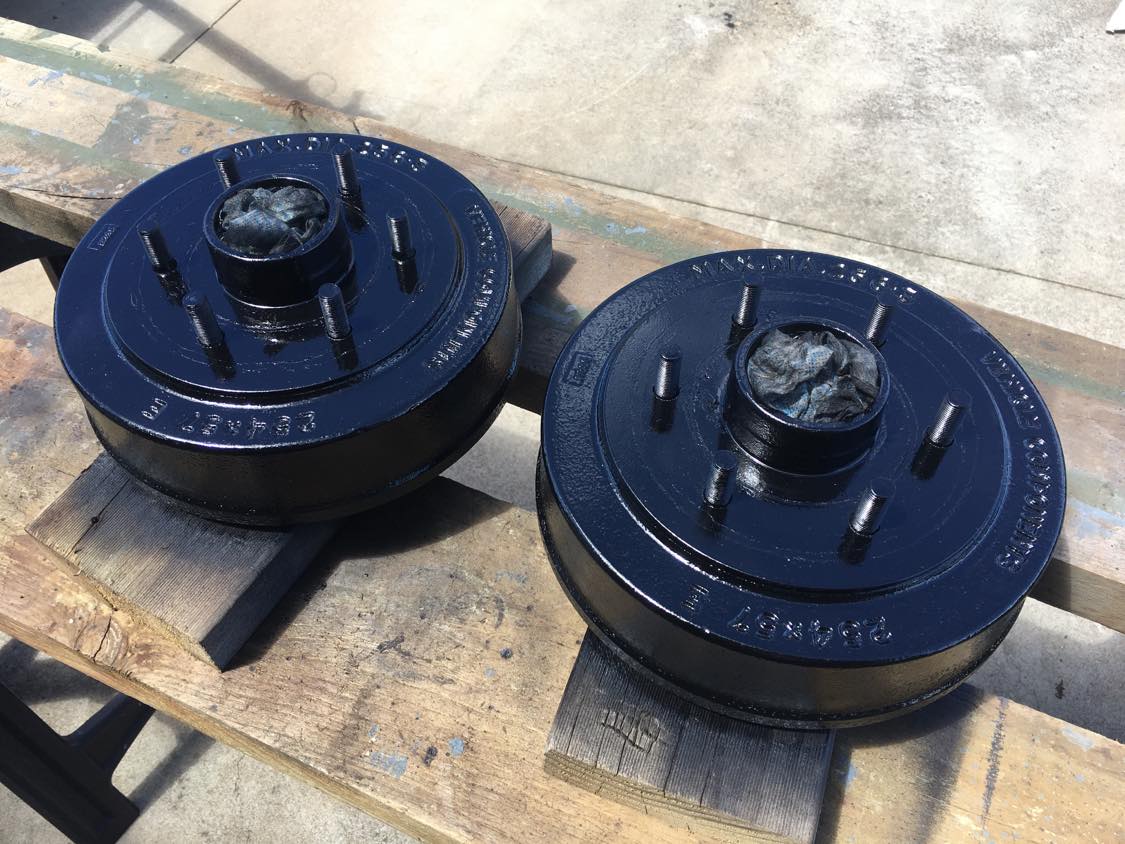
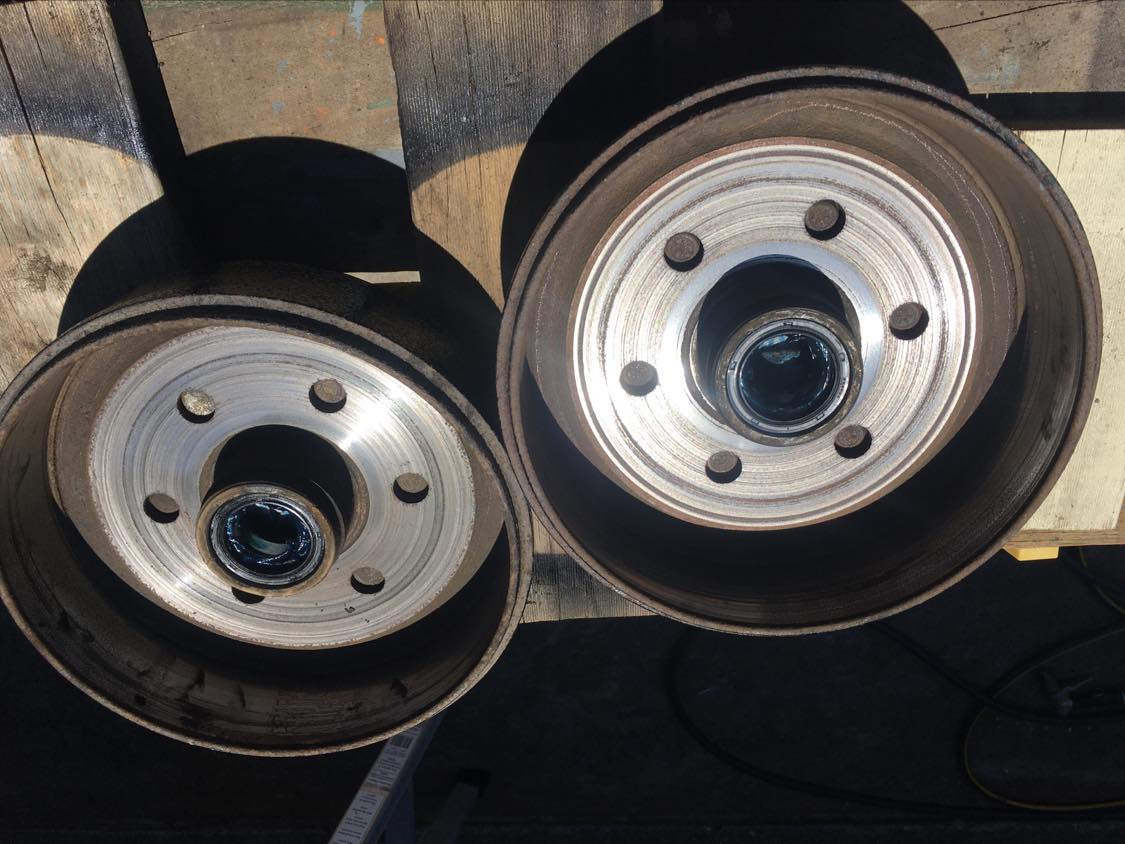
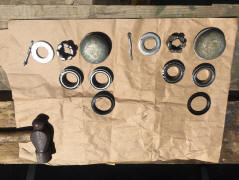
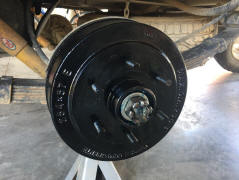
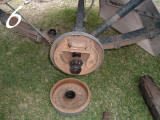
| cleaned ready to
grease |
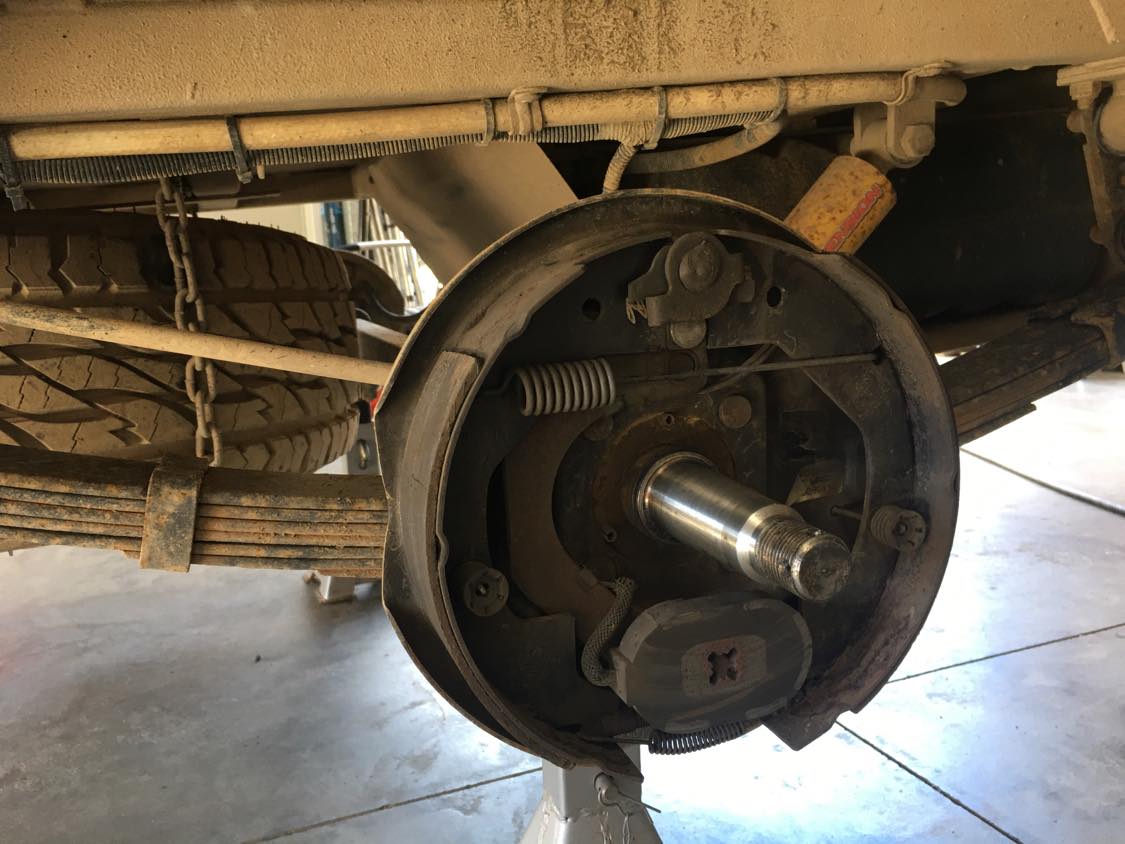
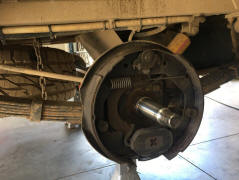
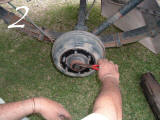
brake shoe, magnet
& stub inspection |
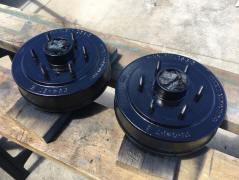
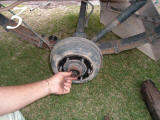
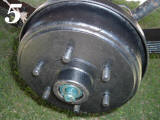
hub cleanup |
 |
 |
 |
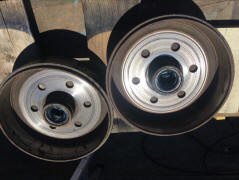
| brake linings
inspection |
castle nut
tightened |
dust cap reseated |
So how do you go about
performing a wheel bearing
inspection and replace the bearings and seals on your camper? There
is nothing better than hands on experience when learning a job like
this. It is not hard, anyone can do it. If you have a mate that
knows how to break down a hub, why not ask him to come around one
afternoon and then throw on a barbie after.
You can also ask your local mechanic to do the job
for you and ask if you
can watch, explaining you are going bush and would like to know how to make
emergency repairs on the side of the track.
Don’t forget to ask how to remove and replace the cones in the hub.
If you are a member of a 4wd, camper trailer or caravan club you
could ask the host of the weekend get together if they could
organise a workshop on this subject.
At several of the Australian CamperTrailers Group national meets I
have conducted a practical workshop on breaking down one of my own
camper trailer hubs, showing how to inspect the bearings, remove the
cone and inspect the axle. Then putting it all back together again
including the technique of pushing grease into the bearing. You can also find suitable material on the net.
A large shifter or spanner is needed to remove the centre nut on the
stub. It is always handy to have a few extra split pins too.
Most importantly always
think safety first and never get under the trailer when it is
supported on stands alone. Park the trailer on firm level ground and
block the trailer tires on the opposite side securely so that no
forward or rearward movement is possible. Jack up the trailer
following the manufacturers instructions and secure the trailer on
jack stands of adequate capacity front and rear. Then release the
handbrake and undo the wheel nuts and remove the wheel.
When finished don’t forget
to tighten your wheel nuts like I did once. The wheel came off
rolling into the bush chewing all the wheel studs in the process. I
now carry a spare set of wheel studs and nuts……. funny now.
Again there are a number of
different wheel studs & nuts used on camper trailers depending on
the axle, hub and bearing combination used. For example Landcruiser
hubs are popular for off road camper trailers. To replace a stud,
simply hammer out and a new one hammered back in on the track side,
lining up the grooves.
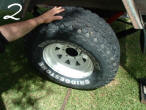
You may find it a little
difficult lifting the wheel back on if you have a crook back or bad
knees. A 10Rx15 tyre and steel rim combination weighs around 30 kgs.
Squatting down and lifting this weight at arms length can be
difficult. Be careful you don't bust your poofle valve. I have found it much easier
to lift a wheel into position using a 'lifting helper'. Most use a
wheel brace to do this, but anything close to hand like a stick,
tent pole, axe, shovel etc will do the job.
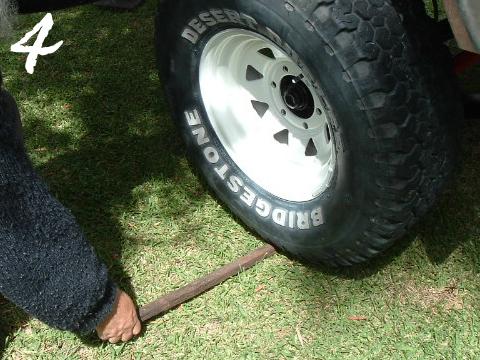
After placing the 'lifting
helper' on the ground under the centre of the hub roll the wheel
into position, slightly under so the top of the wheel leans out.
Rotate the hub to align the studs with the holes in the rim, then
holding one hand on top of the wheel, raise the end of the 'lifting
helper' (which will be positioned next to your leg) and push the top
of the wheel forward towards the hub. The wheel should slip straight
into position onto the wheel studs with little or no effort.
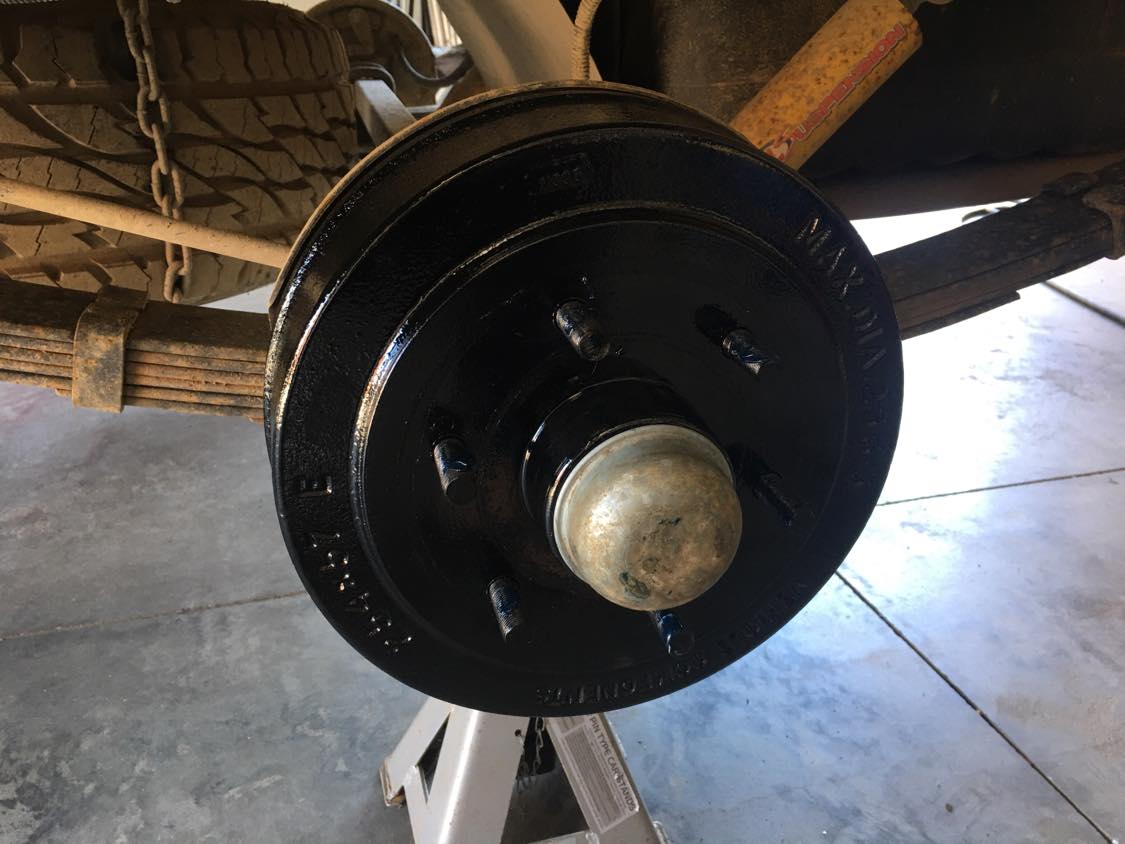
Just a note on bearing dust
caps with a grease nipple or Bearing Buddies which are designed to
prevent water entering on boat trailers. Adding too much grease can
cause the rear seal to be pushed out allowing water & dust to enter
and cause premature failure, usually at the inopportune time. It is
best to look inside the hub, inspect the bearings and regrease,
rather than to just pump grease in.
safe jacking
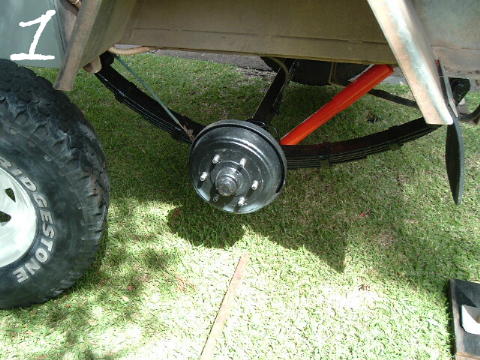
1 park the trailer on firm
level ground.
2 block the trailer tires on the opposite side securely so that no
forward or rearward movement is possible.
3 jack up the trailer following the manufacturers instructions.
4 secure the trailer on jack stands of adequate capacity front and
rear.
5 release the handbrake.
6 undo the wheel nuts & remove the wheel.
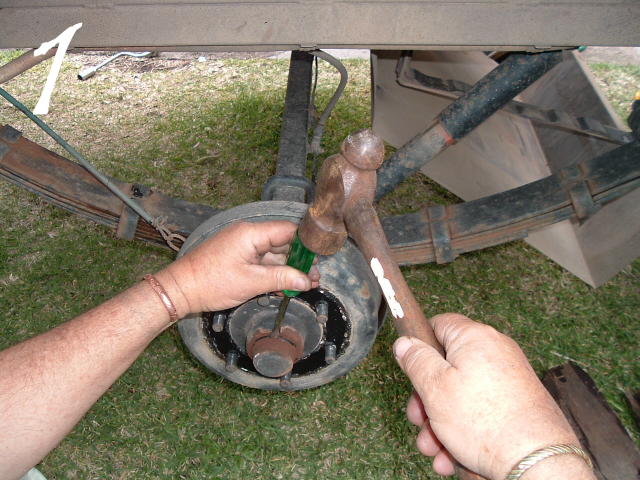
getting your
hands dirty
1 pry off the dust cap
using a flat bladed screwdriver.
2 straighten out the cotter pin that holds the bearing nut &
remove it.
3 remove the bearing nut and washer.
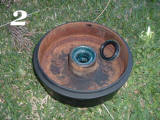
4 pull the brake drum forward along with the front bearing.
5 remove back bearing
6 remove rear seal.


Don't mix
up the bearings if you are doing more that one wheel at a time -
each bearing must mate with it's original race. The bearings wear in
& need to be matched with their respective counterparts.
bearing &
race inspection
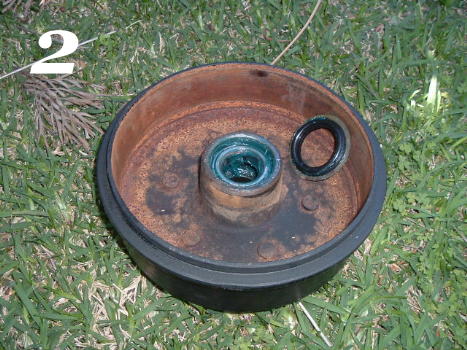
1 thoroughly clean the
bearings and other parts in kerosene until all the old grease is
removed & set aside to dry.
2 clean the hub and spindle.
3 inspect the bearing races for heat discoloration, pitting,
scoring & any unevenness.
4 inspect the bearing for damage as above. Any out of round
rollers, cracked roller cages and rough running will indicate
replacement is required.
5 the bearing & both inner & outer races must be replaced as a
set.
axle
inspection
This gives you a good opportunity to
check the condition of the axle while you have everything apart. Pay
particular attention to the area where the 'step' has been machined
to receive the wheel bearings as this is the most likely place for a
fracture to occur. The fracture usually starts on the bottom so it
is not seen until it is too late.
Another area
worth checking is at the start of the machining itself. This area
may be
covered by the 'weld ring' if you have brakes on your trailer. You
will have to remove the backing plate to get a better look at the
suspect area, usually four or six bolts, but it will be well worth the
effect.
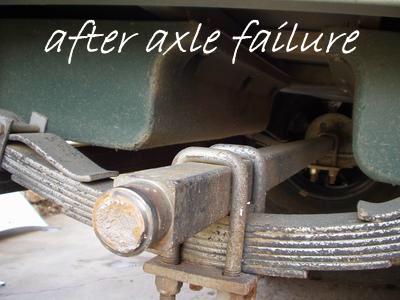
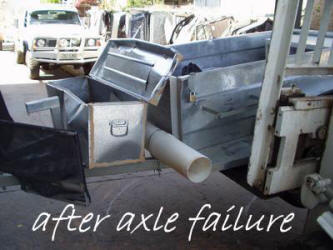
Best way to feel a crack in
a machined surface is by running your finger nail over the area. Not
be afraid to get your magnifying glass out to be sure. An axle
failure at highway speeds in not much fun.

re-packing
the bearings
1 place a small gob of wheel
bearing grease in one palm.
2 grasp the bearing with the other hand so that the wider end is
facing the grease.
3 force the grease into the gap between the inner race & the outer
cage so that it squeezes up through the rollers.
4 press the bearing down into the grease in a rocking motion &
continue until the grease oozes up.
5 rotate the bearing a quarter turn at a time & continue until the bearing
is completely filled with grease.
reassembly
1 put some grease into the
interior of the hub with your fingers and spread it around the
circumference of the hub.
2 place the inner packed bearing into its place in the hub.
3 place a new seal on the hub and tap it into place with a
hammer until it seats fully.
4 be sure to wipe off any grease that finds it's way onto the
outer flat surface of the seal.
5 replace the drum onto the axle spindle, insert the outer
bearing, thrust washer and axle nut.
preloading
the bearings
1 tighten the axle nut with a
spanner to make sure the seal is pressed into place.
2 back off the nut with the spanner a quarter a turn.
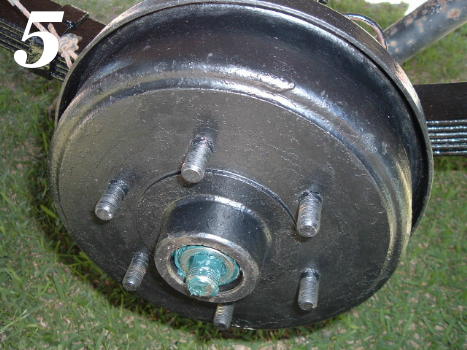
3 insert a new cotter pin to lock the nut in place &
bend it over the spindle.
4 re-install the dust cap, wheel and tire.
replacing bearings
The bearing must be replaced
with a complete new bearing with the inner and outer races.
1 the inner races are
pressed into place in the hub and must be driven out.
2 use a brass punch to catch the edge of the race by passing
it through the inverted hub. A few good whacks with a hammer should
drive out the old race.
3 place the new race into position and tap it in with the
hammer and punch. Take care not to mar the surface of the race.
getting the
wheel back on
You may find it a little
difficult lifting the wheel back on if you have a crook back or bad
knees. A 10Rx15 tyre and steel rim combination weighs around 30 kgs
and
squatting down and lifting this weight at arms length can be
difficult. Be careful you don't bust your poofle valve.
I have found it much easier
to lift a wheel into position using a 'lifting helper'. Most use a
wheel brace to do this, but anything close to hand like a stick, tent pole,
axe, shovel etc will do the job. Here's what you do.
1 after placing the
'lifting helper' on the ground under the center of the hub,
2 roll the wheel into position, slightly under so the top of
the wheel leans out.
3 rotate the hub to align the studs with the holes in the rim.
4 holding one hand on top of the wheel, raise the end of the
'lifting helper' (which will be positioned next to your leg) & push
the top of the wheel forward towards the hub.
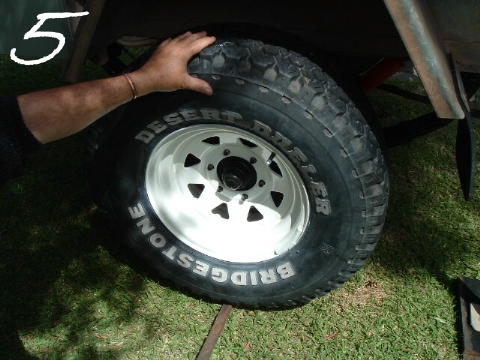
5 the wheel should slip straight into position onto the wheel
studs with little or no effort.


info by Rob
July 2005
updated may 2009
|