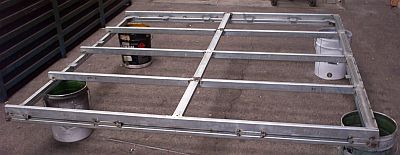
THE LID
which also opens to be the main
bed.
Pic.1: This is my first go at the
lid and I have since decided I don't like the design and will probably
change.
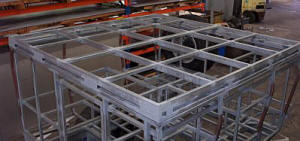
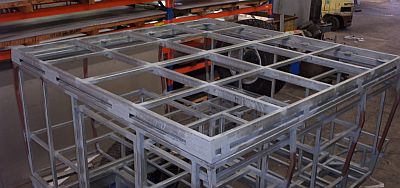
Pic. 2: Completed lid sitting on
the main body of the trailer.
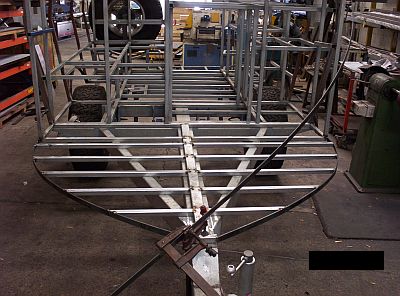
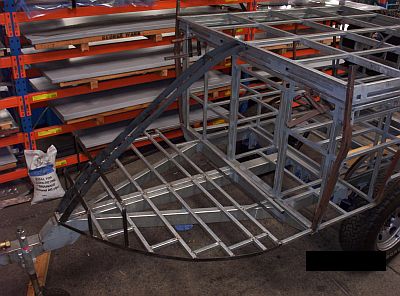
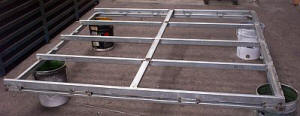
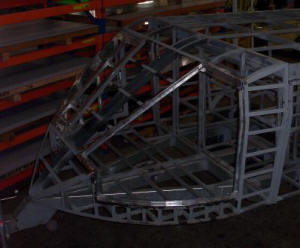
THE NOSE CONE
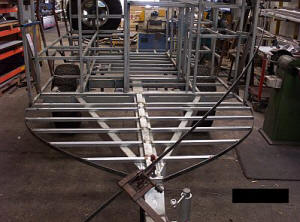
Pic. 1: I decided I wanted to try
and match the same shape of the curved nose cone as the Ultimate
trailer......and as you'll find out it has become a challenge. Here you
can see the base frame of the nose cone taking shape.
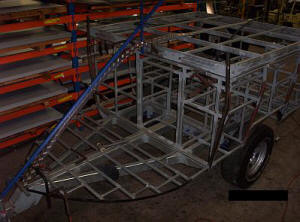
Pic. 2: I learnt very quickly
that I had to think 2 & 3 dimensional and build in 1 dimension and try
and rid myself of compound curves. Here you can see I was trying to form
the shape to take measurements with which I graphed, transferred to CAD
and then had 2 pieces laser cut to form the base shape.

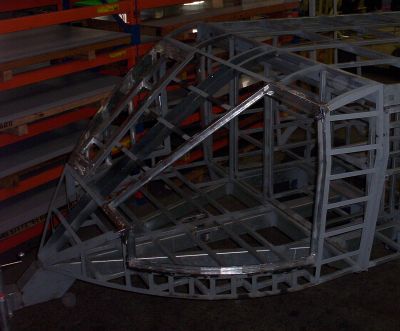
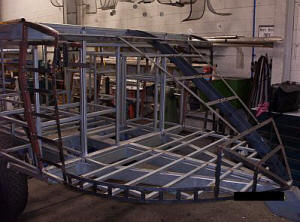
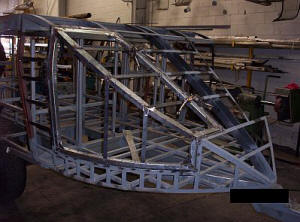
Pic. 3: Here you can see those
two laser cut sections welded into place and the start of the lower part
of the nose cone.
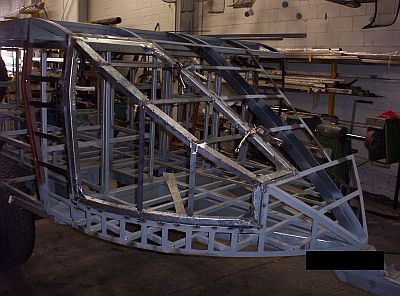
Pic. 4: I have skipped a fair few
steps to arrive at this stage in the development of the nose cone and if
you haven't guessed it yet I am also trying to have gull wing doors in
the nose cone integrated into the design.......man I bite off a lot!!!!
Pic. 5: Here you can spot the
folded lip welded in all the way around the door opening so as to create
part of the door seal.
Pic. 6: I have made up a door
frame and dropped it in place to see what it would look like. This is
where the wheels fall off my plans to have gull wing doors as I
decide that there are to many areas that will be a bitch to seal and
match together between gull wing door and nose cone............ahhhhhhh!!!
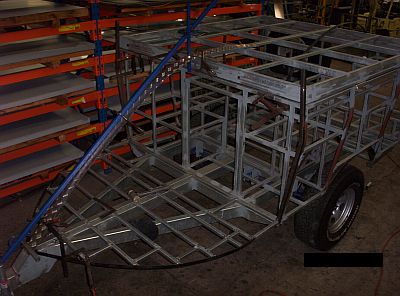
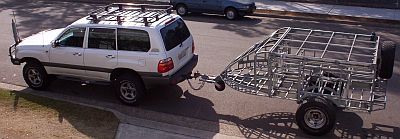
ON THE CAR
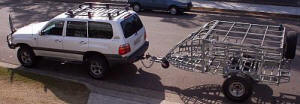
Pic. 1: At this point I decided I
needed some cheering up so I hooked the rig to the rear of the car to
see how it would look. I tell you I was bloody excited to see it sitting
spot on behind my Toyo.....yeah baby! Nearly a years work on Saturday
mornings to get to this stage.
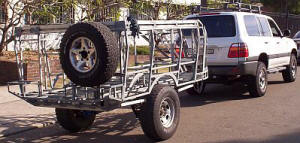
Pic. 2: Check out my
masterpiece....I am so pumped....I look like I got some of it right.
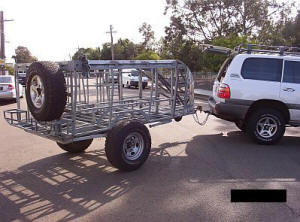
Pic. 3: Great turning circle.
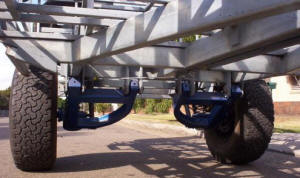
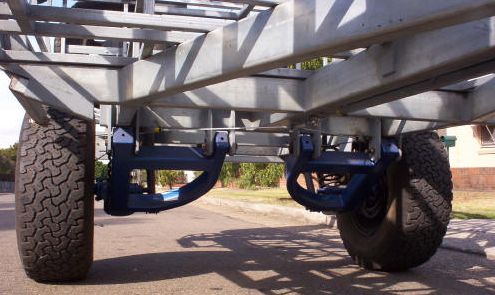
Pic. 4: Daylight shot of the
running gear.

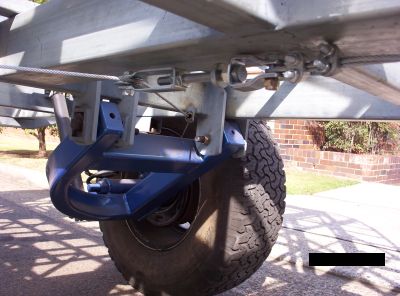
Pic. 5: Close up of the swing
arm.

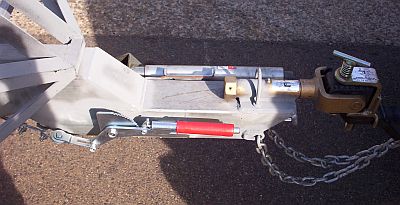
Pic. 6: Main hitch point complete
with modified hand brake assembly and swing up jockey wheel.