THE FRIDGE INSTALL
So moving right
along with my trailer build, I am into the pre-installation of the 3
way fridge and in this area I have spent time ensuring that a correct
ventilation path exists.
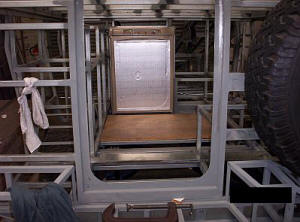
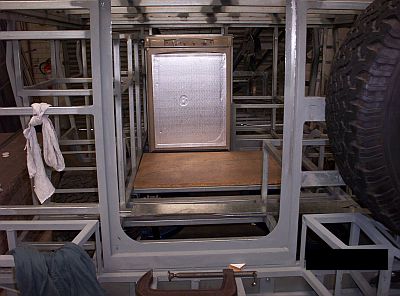
Pic.1 This
shot is taken from the rear of the trailer looking though the rear hatch
at the 3 way fridge in its final location. Remember when you walk in
through this rear door towards the fridge the kitchen is on the left
with sink and stove and the U-shape lounge is on the right.
Now as you may
or may not be aware 3 Way fridges (240v/12v/Gas) require some thought
with regards to their installation and the particular need for correct
airflow across the rear of the fridge coils.

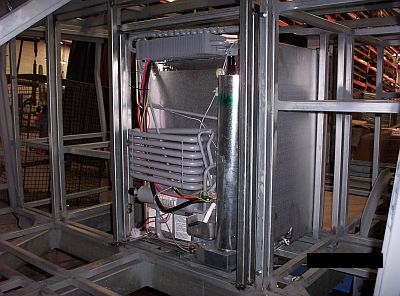
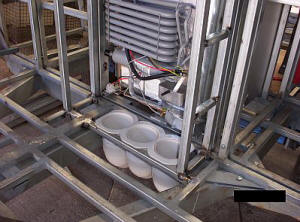
Pic.2
Please see the photo above showing the rear of the fridge and the coiled
tubing. These type of fridges actually use a heat source be it naked
flame or electric element to begin the heat exchange process, that is to
remove heat out of the food stored in the fridge compartment and shift
that heat via correct ventilation to the ambient. Anyway the picture
above shows the fridge from the rear without a ventilation chamber
built.
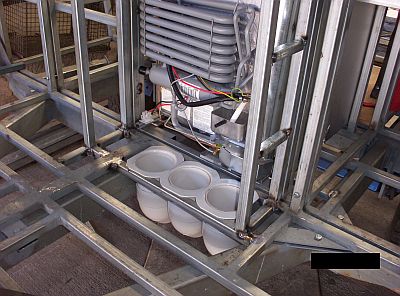
Pic.3 This
picture shows the infrastructure for the ventilation chamber temporarily
in place including the vent pipes at the base of the chamber. I have
used these pipes and fittings as they are readily available and can be
installed with flanges, tubing, angled bends and positive sealing caps
for when crossing creeks.
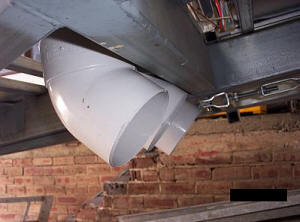
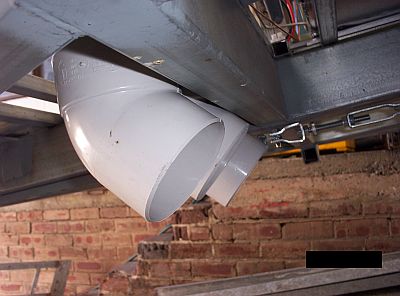
Pic.4 This
picture was a quick snap of the above mentioned pipes facing backwards
to the rear of the trailer allowing sufficient volume of cool air be
allowed to enter to displace hot air either from the bottom up (draft)
or drawn from the top down (vacuum). Please note these pipes are not in
there final resting position and will be all inline and straight.